
Gridsome is a free & open source Vue.js-powered JAMStack framework for building static websites & apps that are fast by default. Static HTML files are generated to create SEO-friendly markup that hydrates into a Vue. js-powered SPA once loaded in the browser.
You can think of a Gridsome website as a regular Vue application but when it’s time to deploy it, you are actually uploading static HTML files that encapsulates all the Vue logic you have created. This makes the site fast, scalable, easily deployable and indexable by search engines.
In this post, we will explain you how to build a Gridsome contact form using Getform. If you don’t have any Gridsome website or no idea how to get started, you can check out the Gridsome docs here.
How to make a Gridsome contact form and handle its form backend using Getform
1- Create a Getform account
First step is to sign up to Getform if you haven’t done it already. It is super easy and free to get started. You don’t need to provide any credit card info to get started.
2- Create a new form on Getform
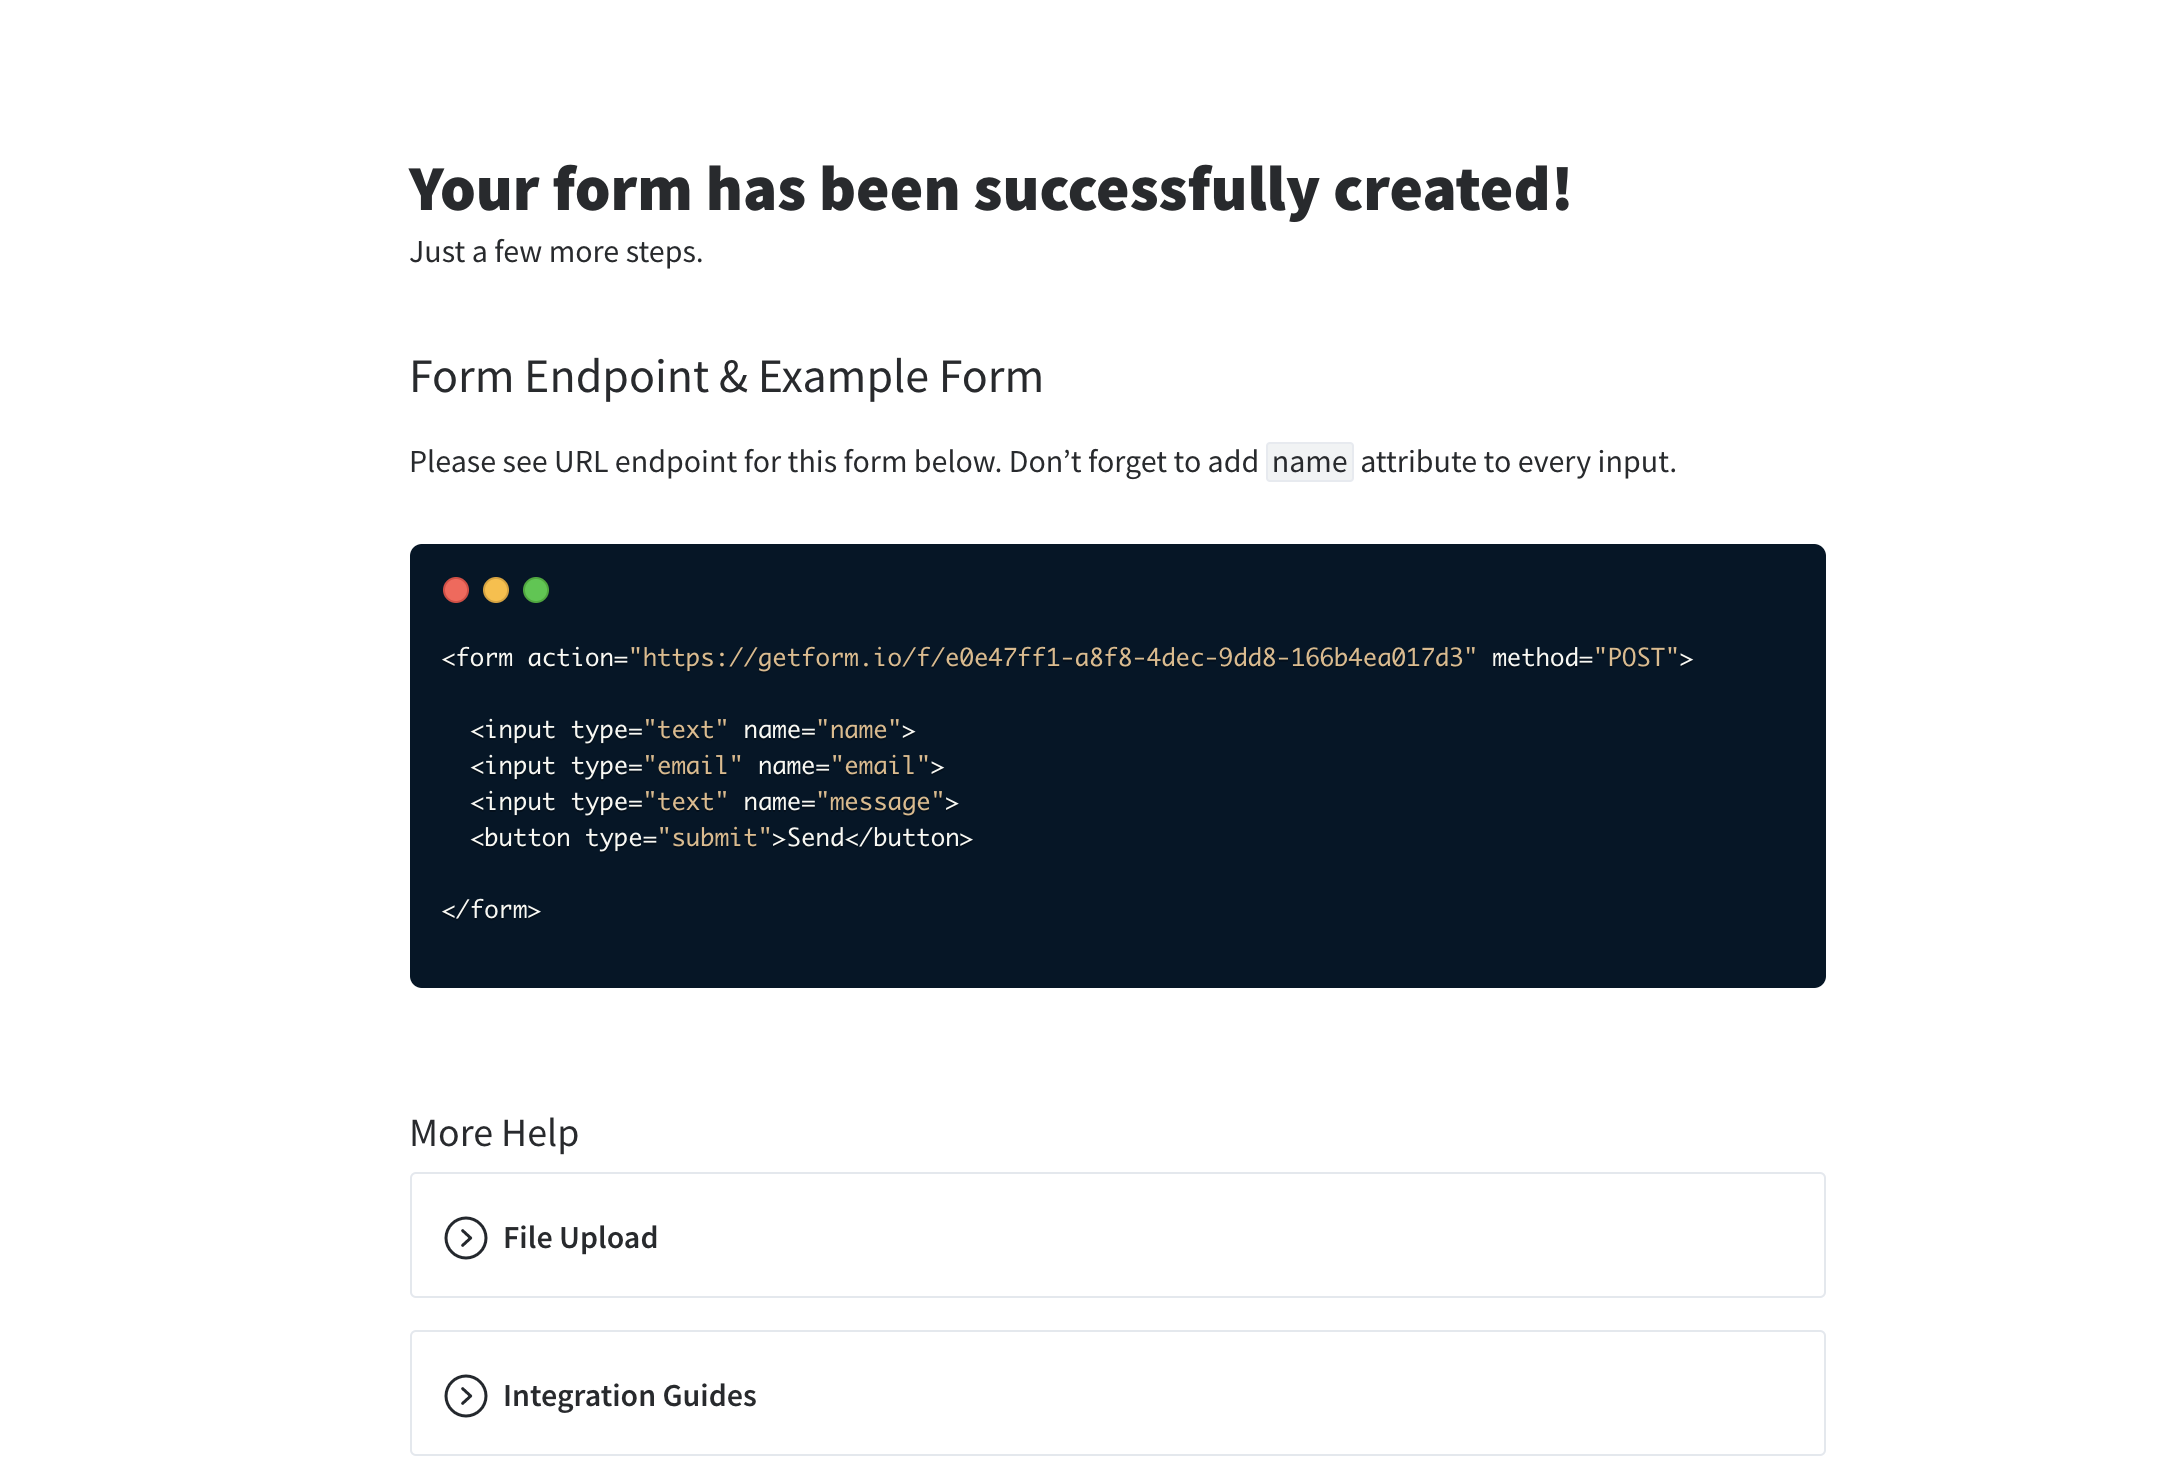
After you log in to your Getform account, click to “+” button on your dashboard to create a new form, then name it e.g. “Contact Form for Gridsome Site” and save it. With that form created, your unique form endpoint is now ready to be inserted to your Gridsome contact form.
Your endpoint will be shown to you after your form is created as follows:
3- Getting Started with Gridsome
To prepare and build your Gridsome website, first step is to install Gridsome CLI tool:
Using YARN:
$ yarn global add @gridsome/cli
Using NPM:
$ npm install --global @gridsome/cli
Second step is to create a new Gridsome site. We name our site as "my-gridsome-site":
$ gridsome create my-gridsome-site
cd my-gridsome-site to open folder and run the following command to start a local dev server:
$ gridsome develop
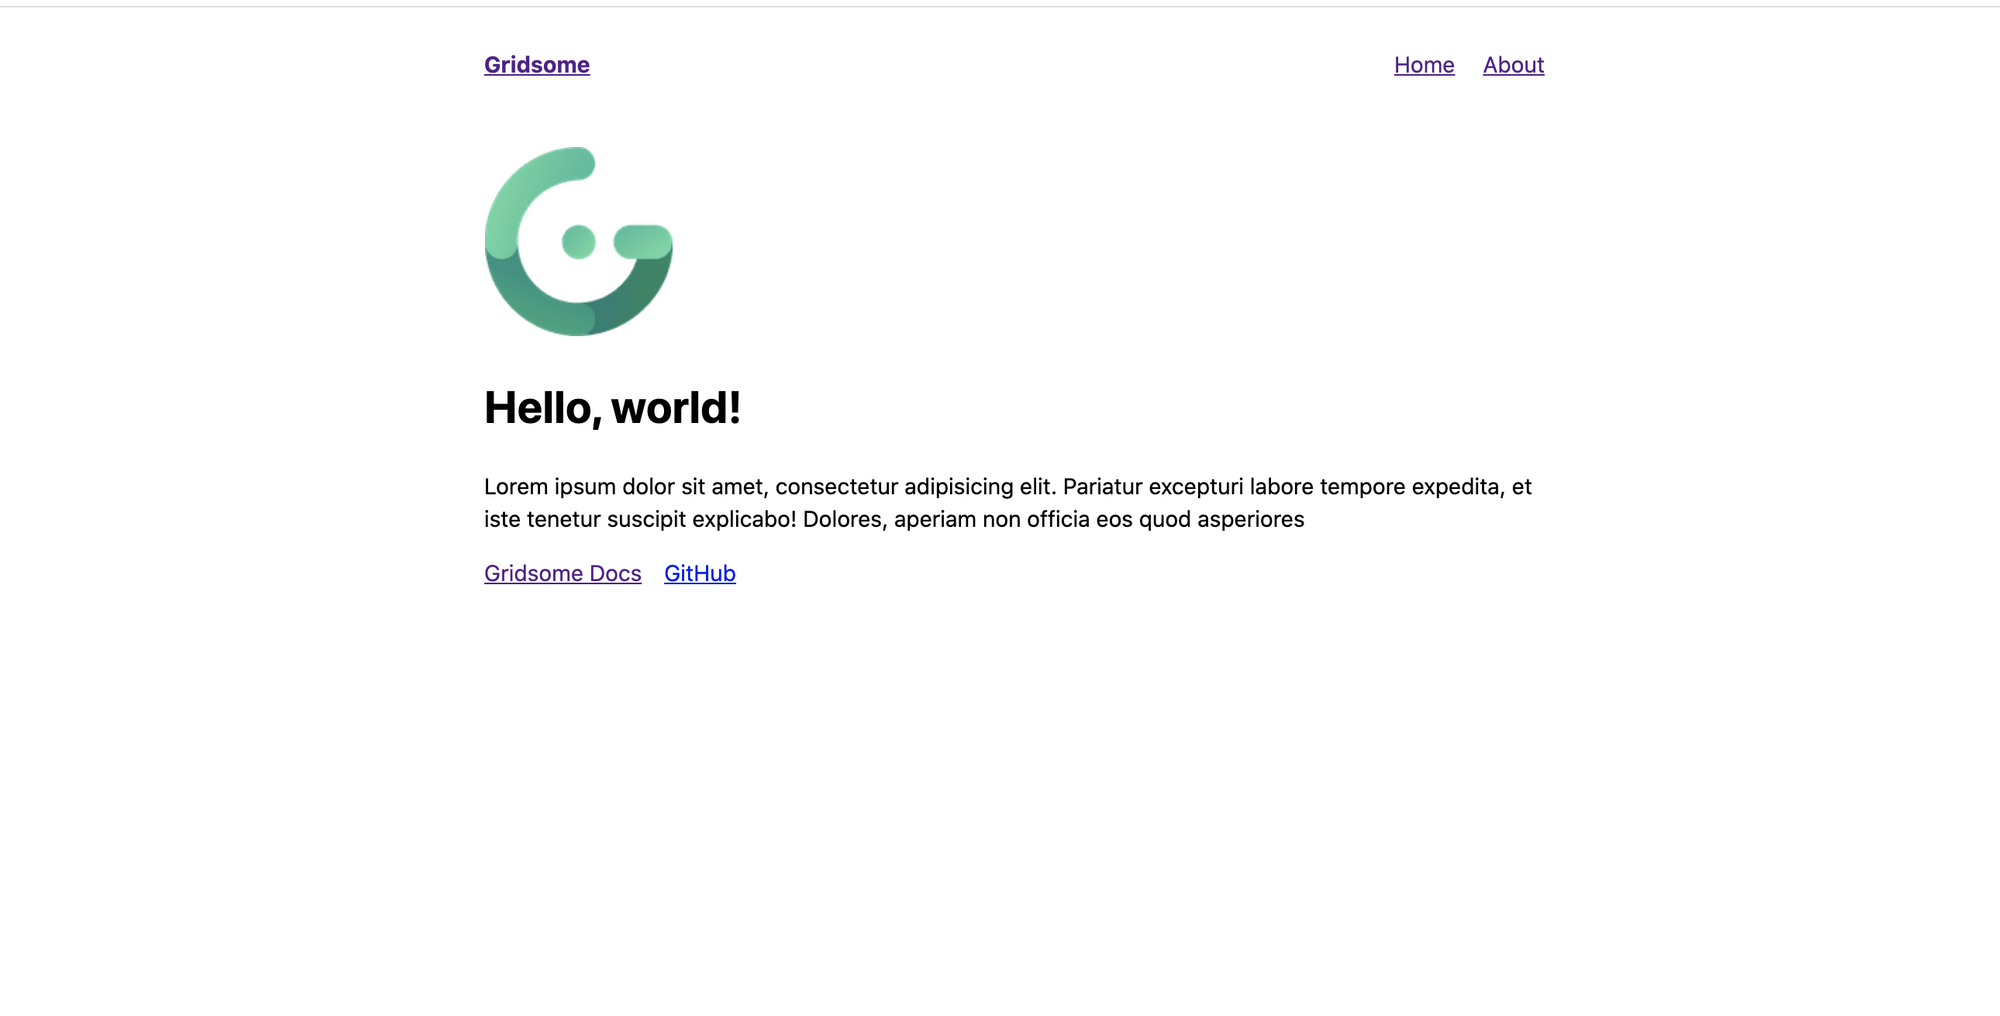
Gridsome will start a hot-reloading development environment accessible by default at localhost:8080 which will look like as follows:
4- Add a contact page to your Gridsome site
Now, we have our Gridsome site running and welcomes us with "Hello World" message and two pages which are "Home" and "About".
On Gridsome, Pages are created by adding Vue Components in src/pages folder. They use a file-based routing system. For example, src/pages/About.vue will be mywebsite.com/about/. Pages are used for simple pages and for pages that list collections (e.g., /blog/)
Let's create our contact page.
- Create a new file called contact.vue under src/pages directory.
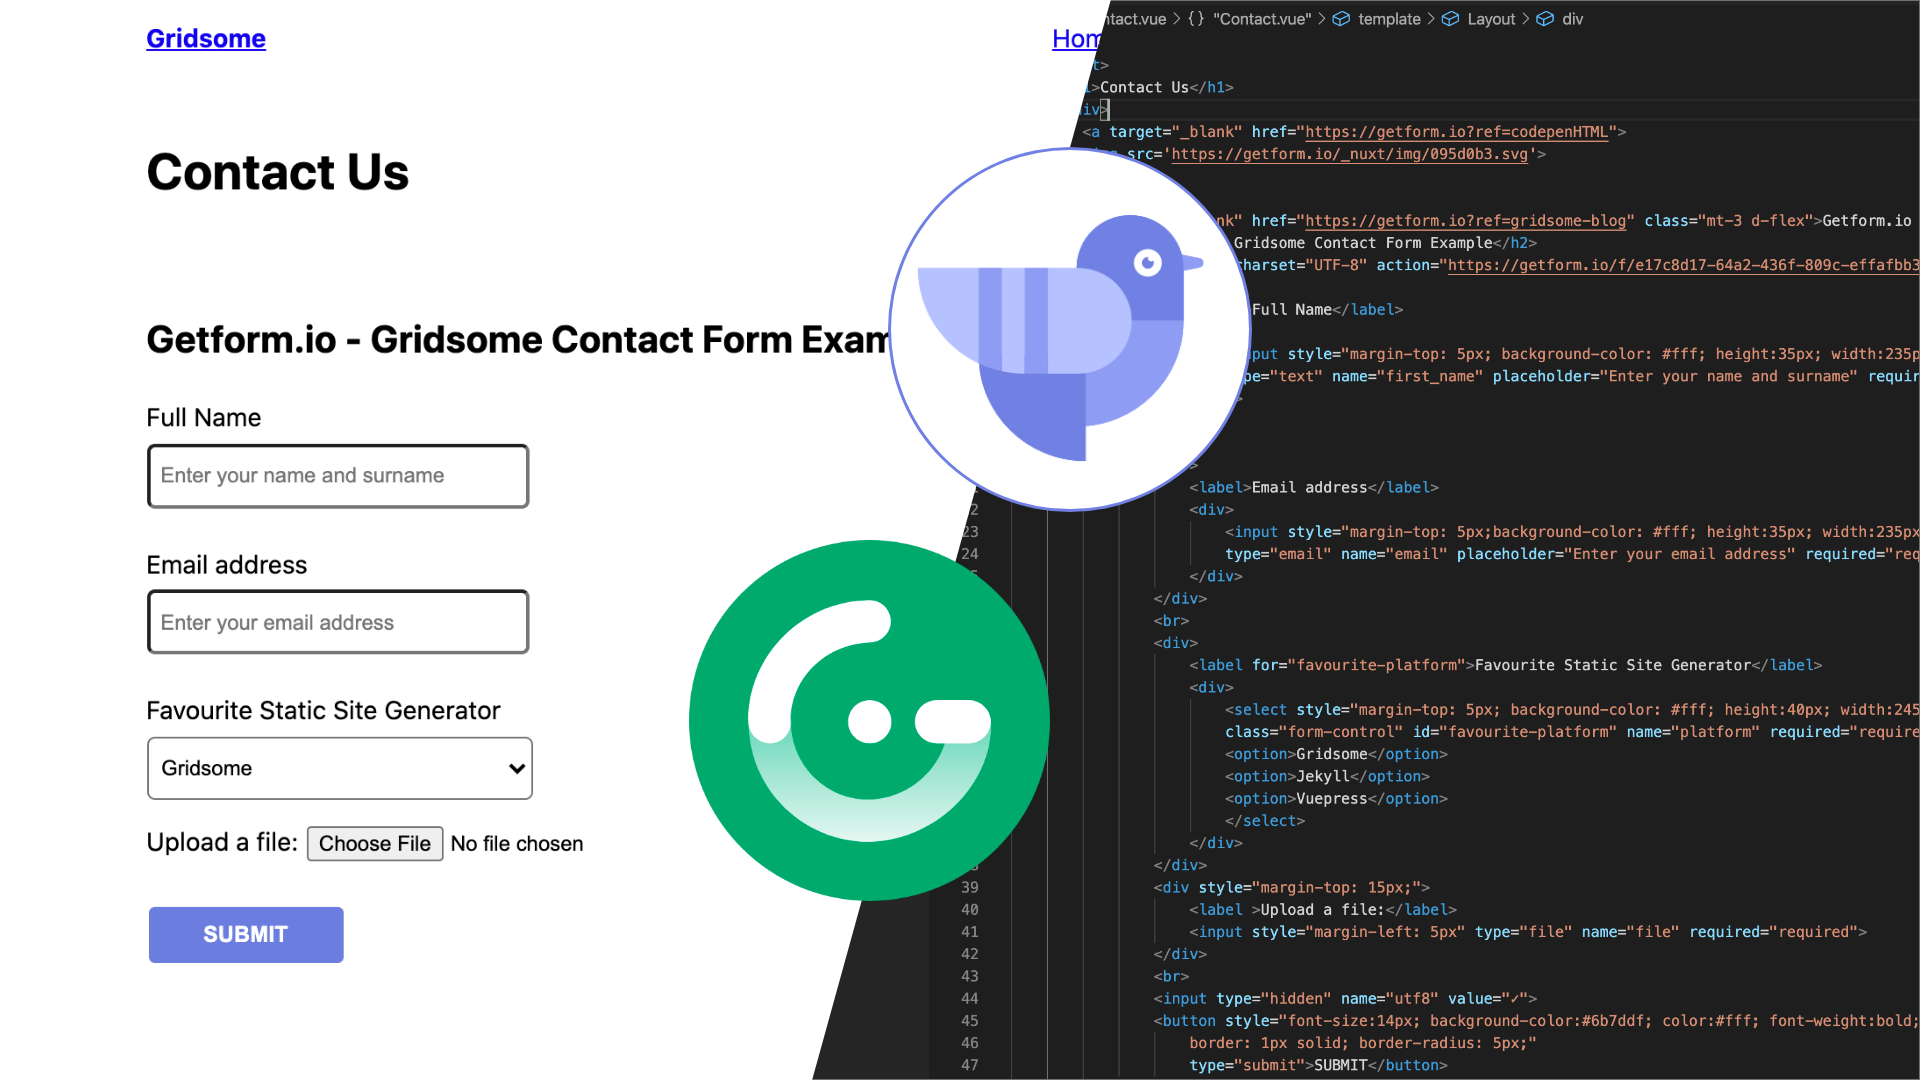
- Change its content with the following code block, the contact form itself will be html, which will work fine.
- Don’t forget to change the
actionpart of your<form>tag in your contact.vue file, update it with the form endpoint URL you copied in step 2.
<template>
   <Layout>
      <h1>Contact Us</h1>
      <div>
        <a target="_blank" href="https://getform.io?ref=codepenHTML">
        <img src='https://getform.io/_nuxt/img/095d0b3.svg'>
        </a>
        <br>
        <a target="_blank" href="https://getform.io?ref=gridsome-blog" class="mt-3 d-flex">Getform.io | Get your free endpoint now</a>
        <h2>Getform.io - Gridsome Contact Form Example</h2>
            <form accept-charset="UTF-8" action="https://getform.io/f/{YOUR_UNIQUE_FORM_ENDPOINT}" enctype="multipart/form-data" method="POST"  target="_blank">
                <div>
                    <label>Full Name</label>
                    <div>
                        <input style="margin-top: 5px; background-color: #fff; height:35px; width:235px; text-indent: 5px; border-radius:5px;"
                        type="text" name="first_name" placeholder="Enter your name and surname" required="required">
                    </div>
                </div>
                <br>
                <div>
                    <label>Email address</label>
                    <div>
                        <input style="margin-top: 5px;background-color: #fff; height:35px; width:235px; text-indent: 5px; border-radius:5px;"
                        type="email" name="email" placeholder="Enter your email address" required="required">
                    </div>
                </div>
                <br>
                <div>
                    <label for="favourite-platform">Favourite Static Site Generator</label>
                    <div>
                        <select style="margin-top: 5px; background-color: #fff; height:40px; width:245px; text-indent: 5px; border-radius:5px;"
                        class="form-control" id="favourite-platform" name="platform" required="required">
                        <option>Gridsome</option>
                        <option>Jekyll</option>
                        <option>Vuepress</option>
                        </select>
                    </div>
                </div>
                <div style="margin-top: 15px;">
                    <label >Upload a file:</label>
                    <input style="margin-left: 5px" type="file" name="file" required="required">
                </div>
                <br>
                <input type="hidden" name="utf8" value="✓">
                <button style="font-size:14px; background-color:#6b7ddf; color:#fff; font-weight:bold; padding:10px 35px; margin: 5px 0 0 0;
                    border: 1px solid; border-radius: 5px;"
                    type="submit">SUBMIT</button>
            </form>
        </div>
      </div>
   </Layout>
</template>

<script>
export default {
  metaInfo: {
    title: 'About us'
  }
}
</script>
Sample form endpoint: https://getform.io/{YOUR_UNIQUE_FORM_ENDPOINT}
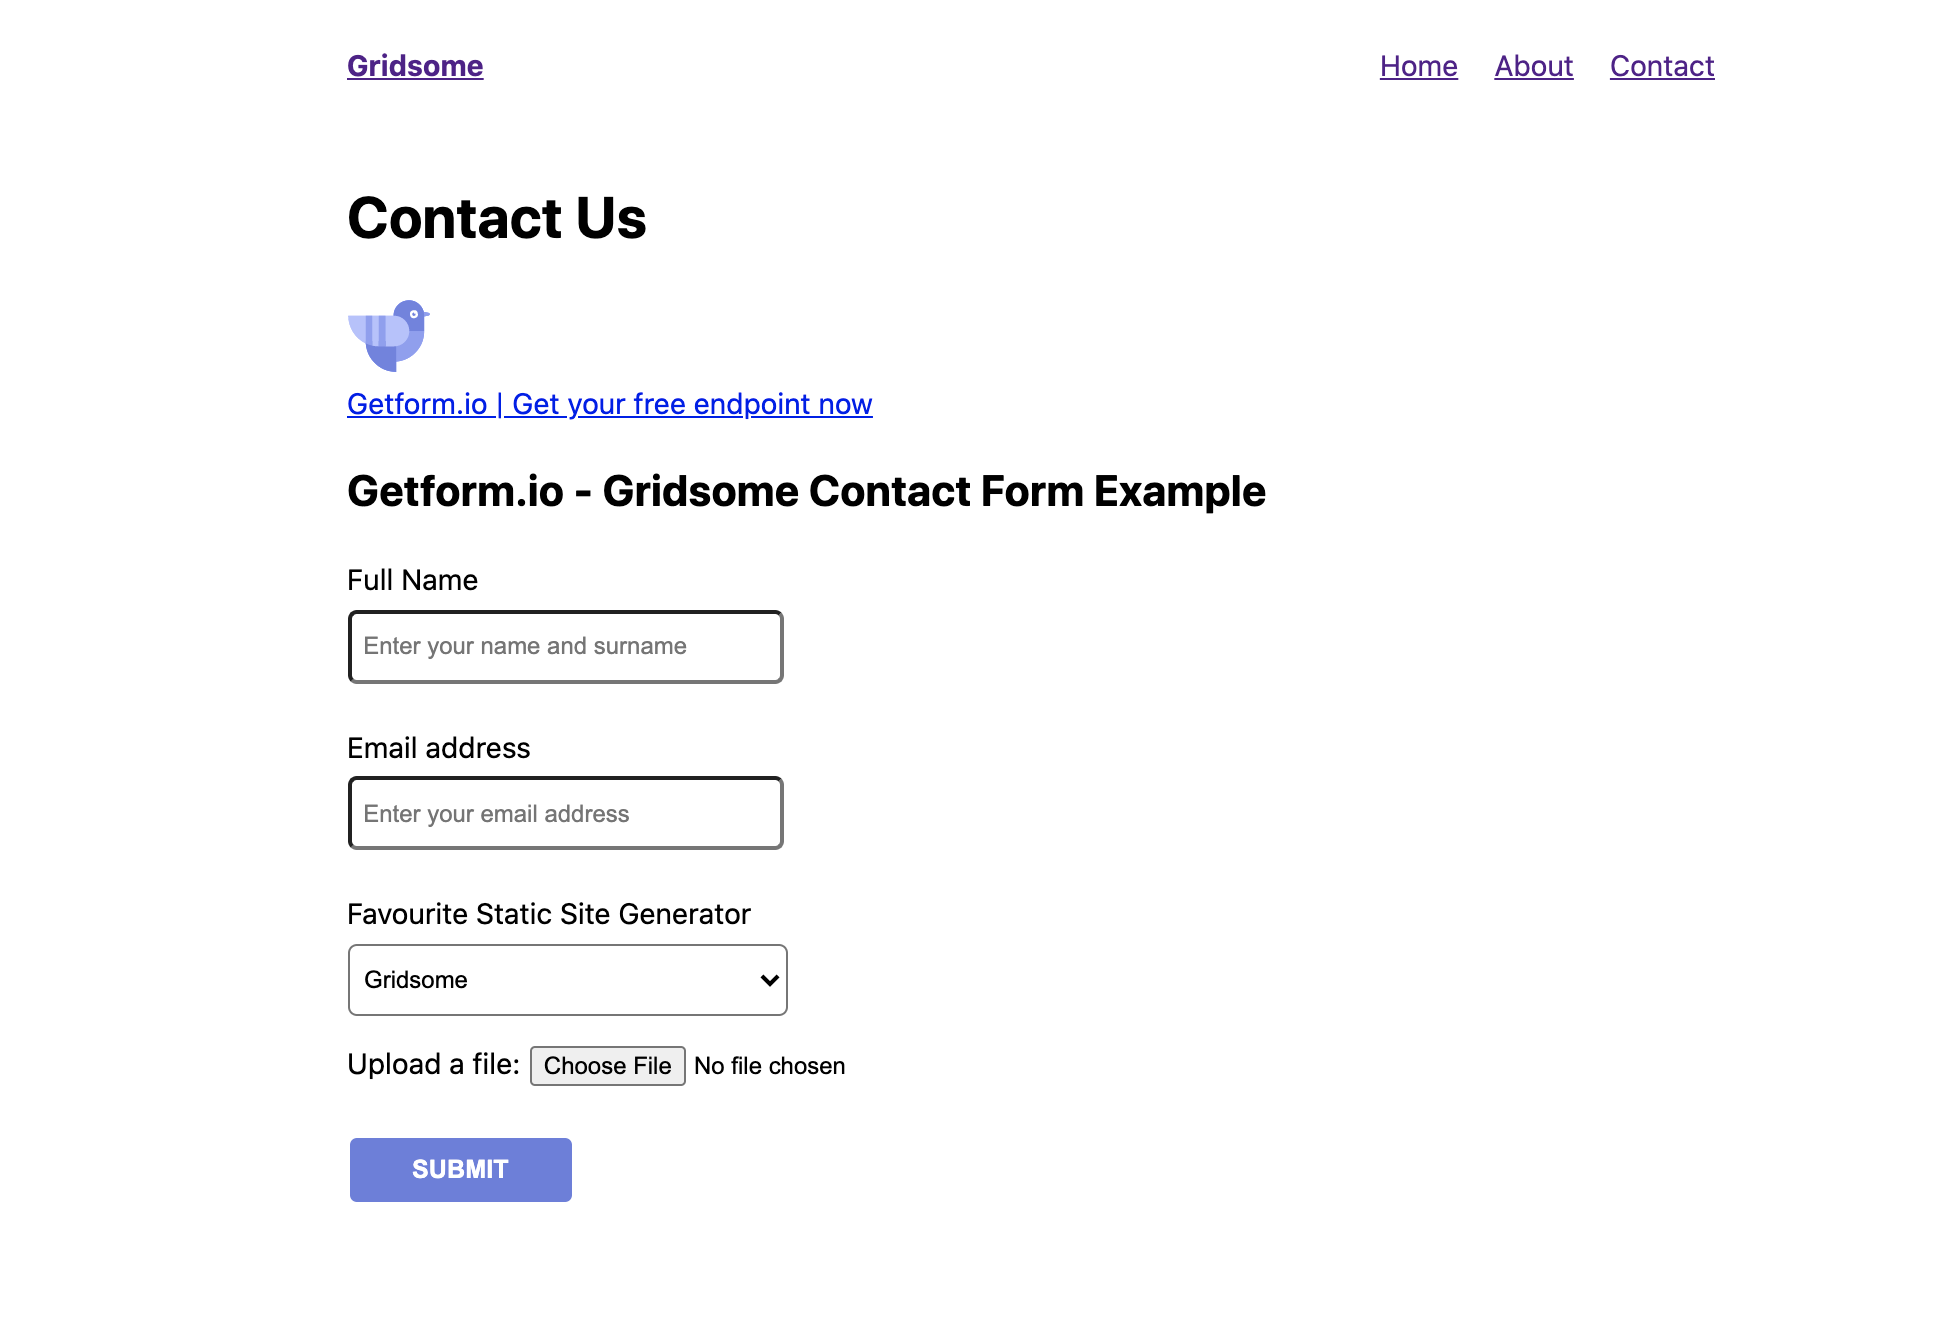
- run gridsome develop and go to localhost:8080/contact/. Here is how your contact page looks like:
OPTIONAL: Use Bootstrap Vue to enable Bootstrap on your site
If you would like to use Bootstrap on your Gridsome site, you can install Bootstrap Vue and use the boilerplate code to create a Bootstrap enabled HTML form. It is a basic contact form with email address, name and favorite platform fields:
5- Test your form on your Gridsome site by submitting a sample form submission!
That’s it! Your Gridsome site is now using Getform form backend.
After you finish setting things up, you can also set up an email notification from form settings, use the Zapier integration to send your form submission data to 1000s of other applications and keep your form submissions spam protected by using reCaptcha integration.
6- BONUS: Deploy your Gridsome contact form using Vercel
You can find the source code of this tutorial here. Optionally, you can use the boilerplate code to get started and even deploy this sample to a working website within couple of minutes using Vercel (ex ZEIT).
You'll find a Deploy button like the following in the README section of the sample tutorial code:
When you head over to the link, you will be asked whether you want to create a git repository from this sample or not. Make your selection and click "Deploy" button to deploy this sample repo with Vercel.
Here is the link of the live sample: https://gridsome-vercel-getform.vercel.app/
Thank you for reading it! We keep enhancing Getform by listening to you, leave us your feature requests at or vote on the existing ones.
Checkout our Codepen page, Codesandbox page, Zapier page and Documentation for more information and guides.

If you would like help setting up Getform to your Gridsome site, feel free reach us out at info@getform.io
Mertcan from Getform
Form backend platform for designers and developers