
NextJS is a React based front-end framework created by Vercel for developing search engine friendly static and dynamic web applications. It enables functionality such as server-side rendering and generating static sites.
Getform is a modern form backend platform which lets you handle HTML form submissions on any website or application. It works perfectly for static site form management and acts as a data manager for online forms.
In this article, we’ll cover how to add a static file upload form to your NextJS site using Getform and deploy the ready site with functioning form using Vercel.
How to build NextJS forms using Getform
Step 1: Create a Getform account and generate new form endpoint
- Visit https://getform.io to create a new account.
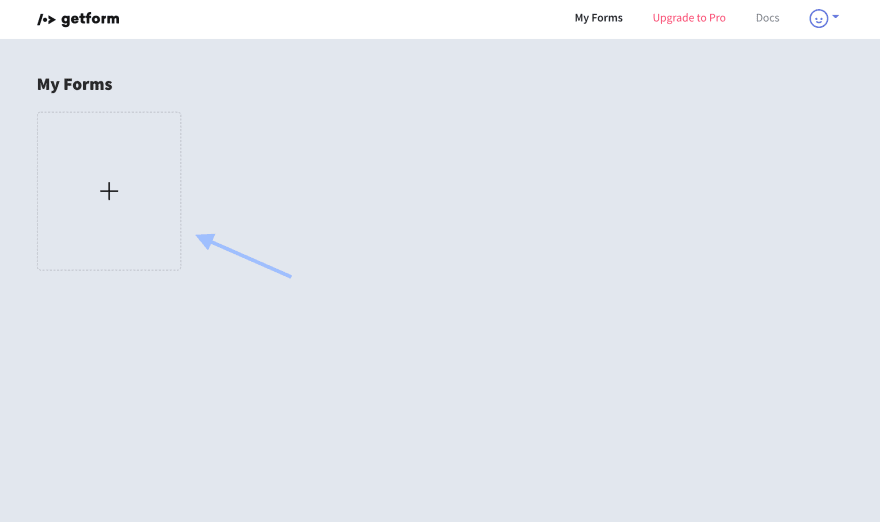
- After you login to your account, create a new form endpoint by clicking the "+" button.
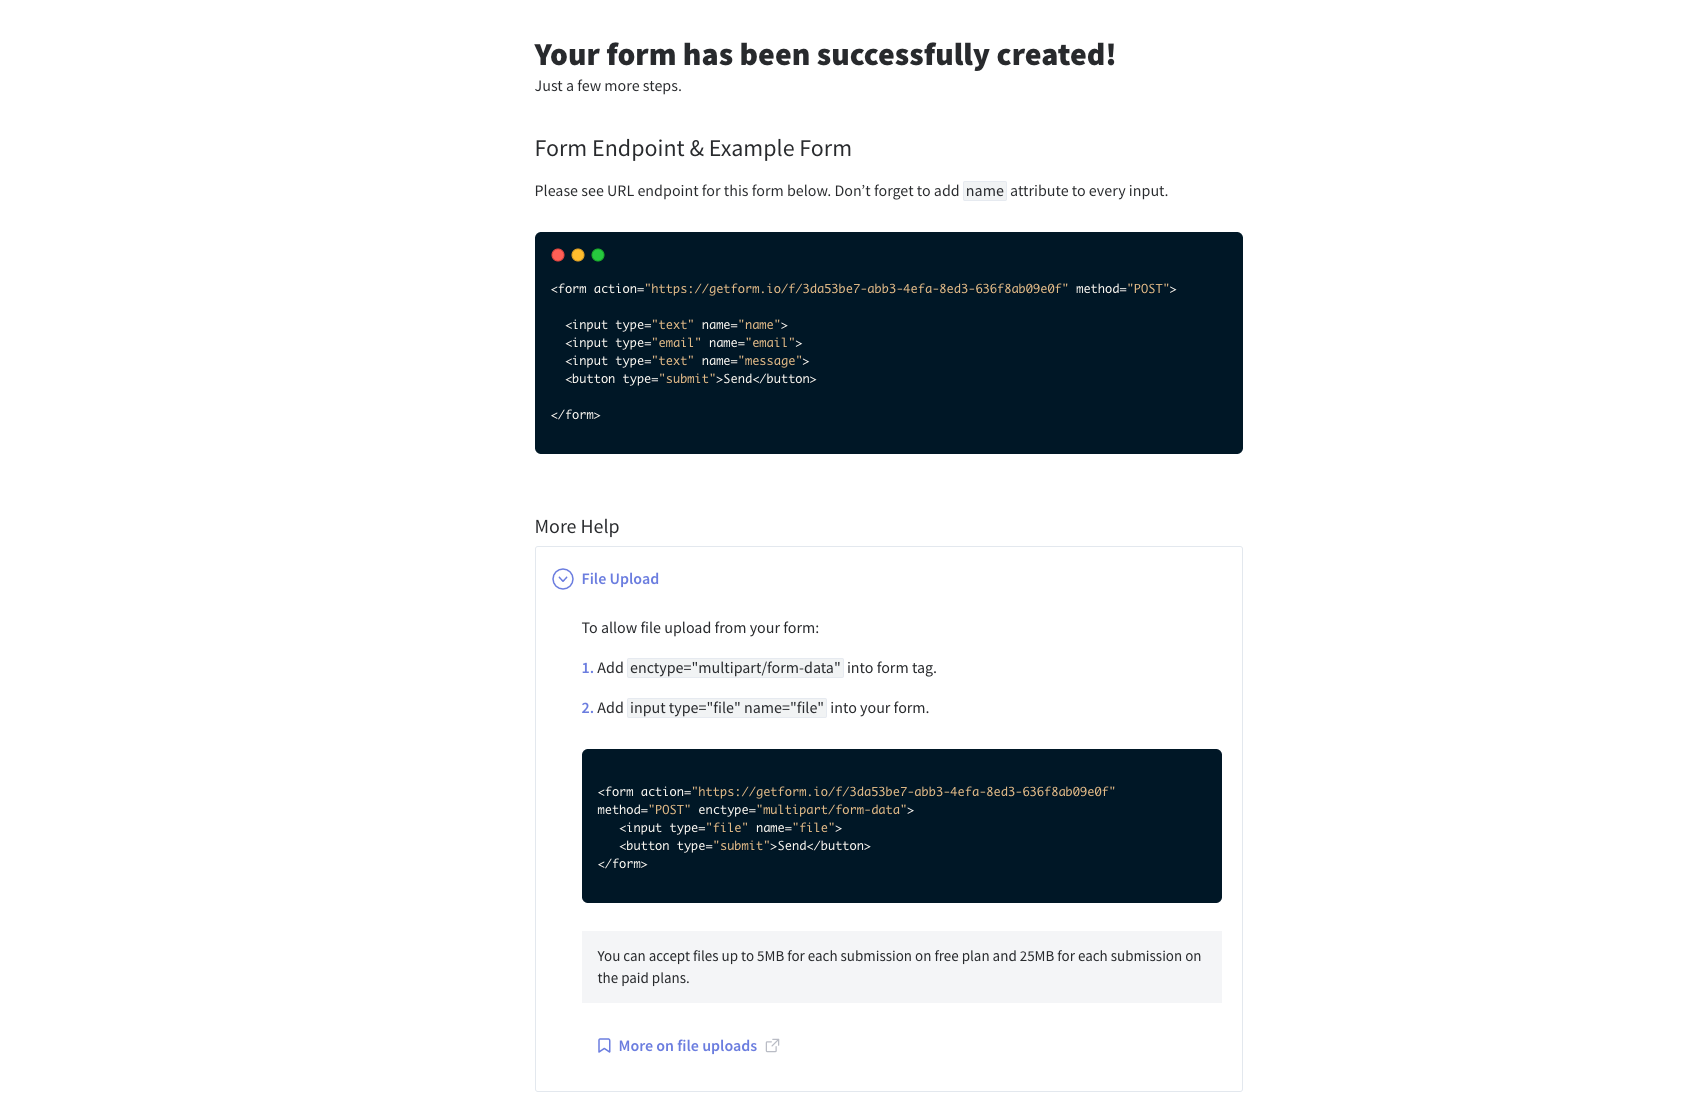
- Name your form e.g. “Contact Form for NextJS Site” and save it. With that form created, your unique form endpoint is now ready to be inserted to your NextJS form.
Step 2: Create a Next.js app
To start off, we need a new Next.js app from scratch. To do this, you can navigate to where you want to create the app and run:
$ yarn create next-app [project-name]
#or
$ npx create-next-app [project-name]
at this point, you will be asked to give a name to your app. In this example, we will be naming as "my-nextjs-getform-form".
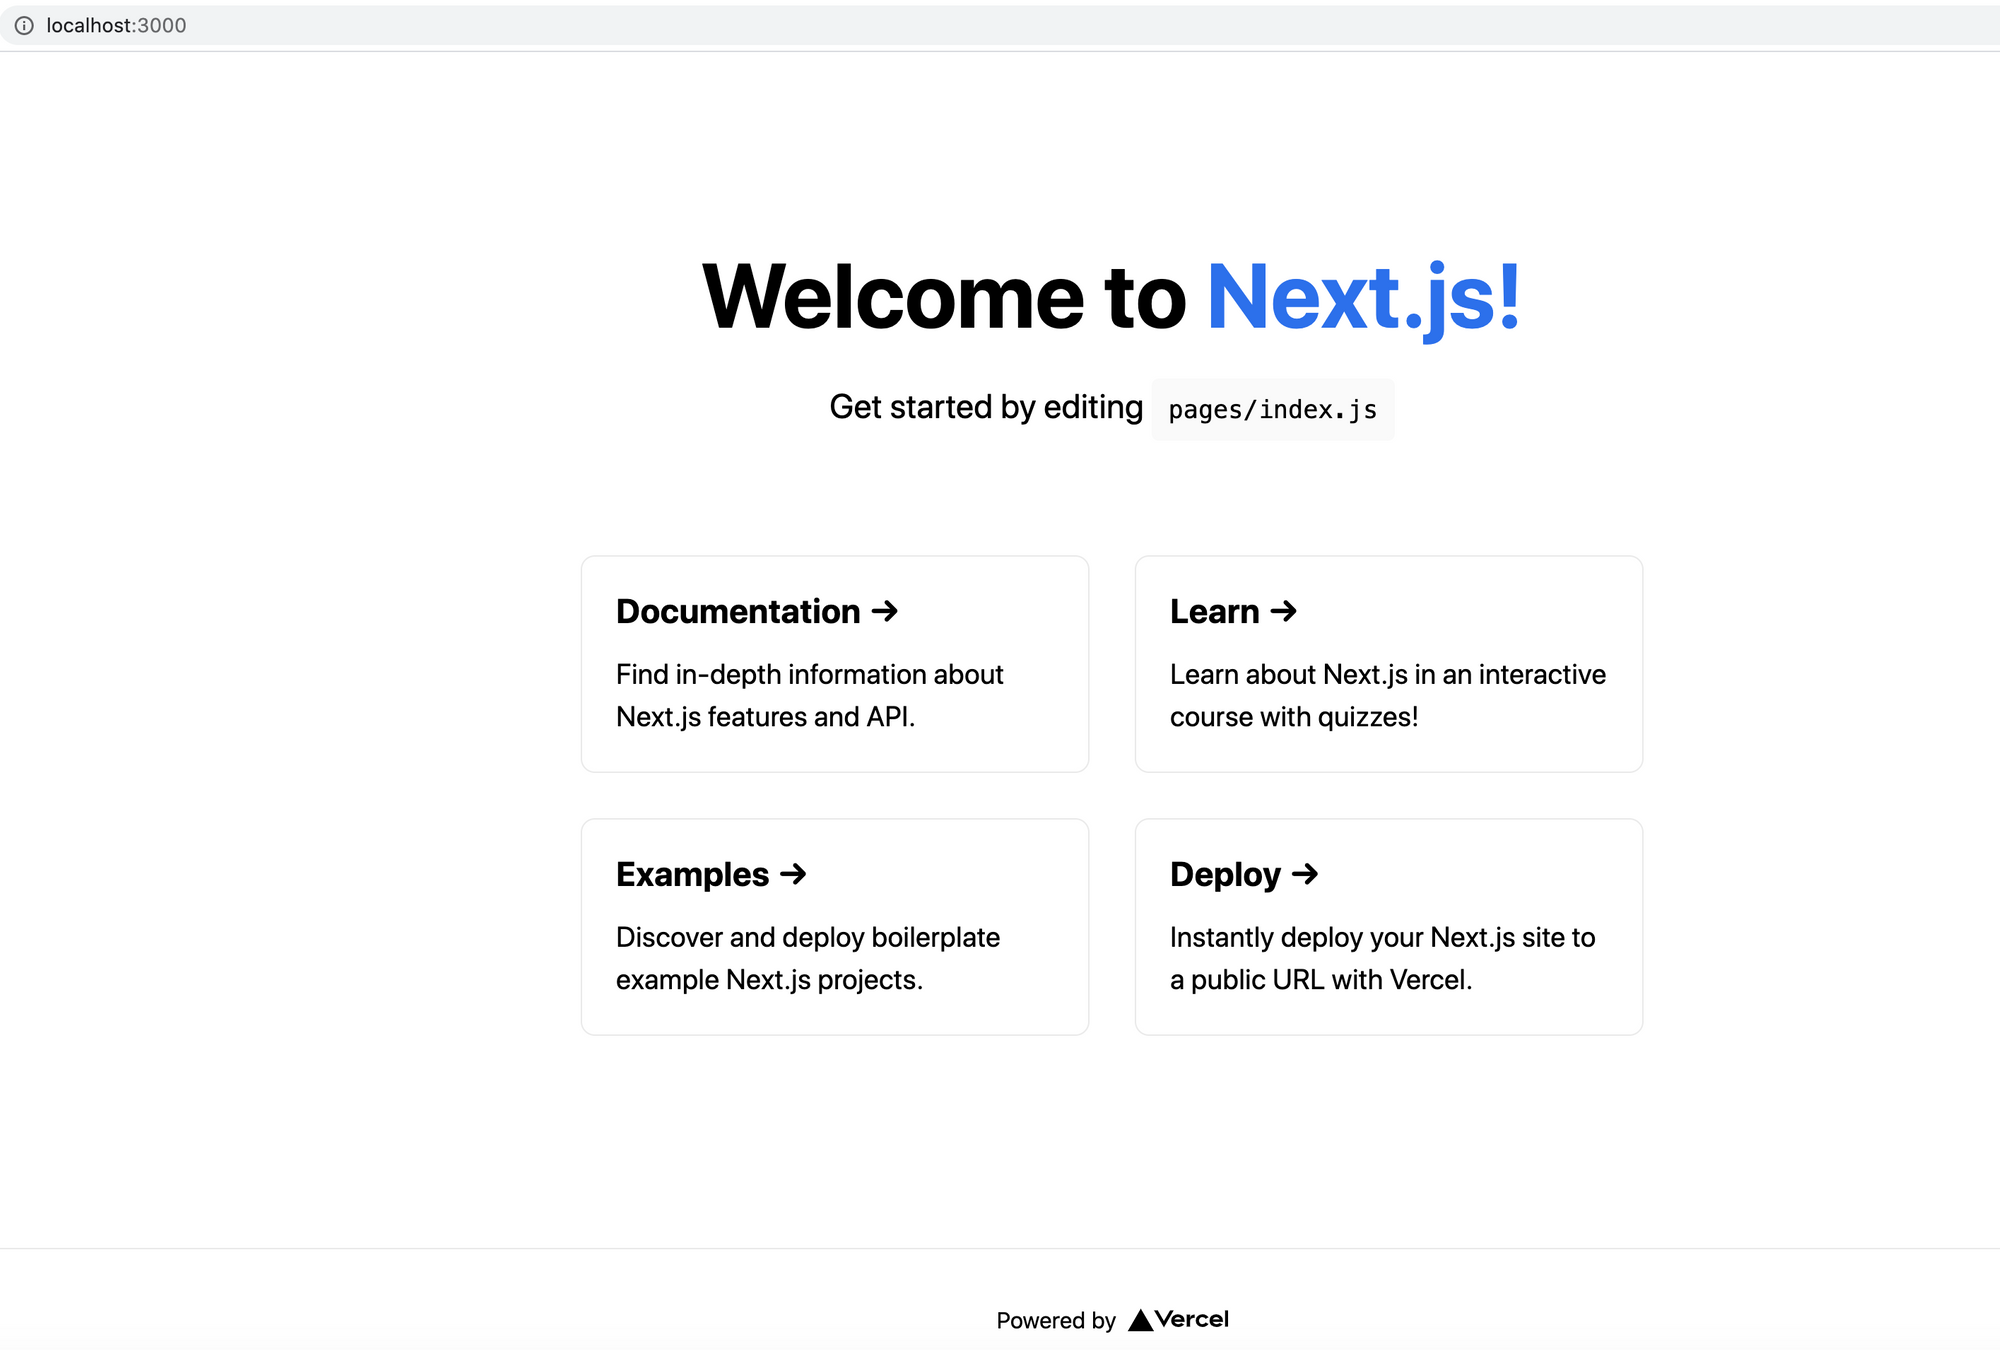
Once Next.js finishes installing dependencies, it’ll give you instructions to navigate to your project directory and start your development server.
$ cd my-nextjs-getform-formAnd after you run yarn dev or npm run dev, you should be ready to go with your Next.js app:
Step 3: Adding an HTML form to your NextJS app
For our form, we can really use whatever we want. Contact forms can be as simple as an email address, name and message fields or it include a variety of options to help a business answer specific questions.
In this example, we are going to ask our visitors to leave their full name, email address, tell us their favourite devops platform among Bitbucket, Github and Gitlab and lastly ask them to send over their resumes.
Create a new js file and name it as contact.js file under pages directory, change its content with the following code block:
import axios from 'axios';
import {useState} from 'react'

const GETFORM_FORM_ENDPOINT = "https://getform.io/{your-form-endpoint}";


function Form() {
    const [formStatus, setFormStatus] = useState(false);
    const [query, setQuery] = useState({
        name: "",
        email: "",
        platform: "",
        file: ""
    });

    const handleFileChange = () => (e) => {
        setQuery((prevState) => ({
            ...prevState,
            files: e.target.files[0]
        }));
    };

    const handleChange = () => (e) => {
        const name = e.target.name;
        const value = e.target.value;
        setQuery((prevState) => ({
            ...prevState,
            [name]: value
        }));
    };

    const handleSubmit = (e) => {
        e.preventDefault();
        const formData = new FormData();
        Object.entries(query).forEach(([key, value]) => {
            formData.append(key, value);
        });

        axios
            .post(
                GETFORM_FORM_ENDPOINT,
                formData,
                {headers: {Accept: "application/json"}}
            )
            .then(function (response) {
                setFormStatus(true);
                setQuery({
                    name: "",
                    email: "",
                    platform: ""
                });
                console.log(response);
            })
            .catch(function (error) {
                console.log(error);
            });
    };
    return (
        <div class="container-md">
            <h2>Getform.io Next.js File Upload Form Example</h2>
            <form
                acceptCharset="UTF-8"
                method="POST"
                enctype="multipart/form-data"
                id="ajaxForm"
                onSubmit={handleSubmit}
            >
                <div className="form-group mb-2">
                    <label for="exampleInputEmail1">Email address</label>
                    <input
                        type="email"
                        className="form-control"
                        id="exampleInputEmail1"
                        aria-describedby="emailHelp"
                        placeholder="Enter email"
                        required
                        name="email"
                        value={query.email}
                        onChange={handleChange()}
                    />
                </div>
                <div className="form-group mb-2">
                    <label for="exampleInputName">Name</label>
                    <input
                        type="text"
                        className="form-control"
                        id="exampleInputName"
                        placeholder="Enter your name"
                        required
                        name="name"
                        value={query.name}
                        onChange={handleChange()}
                    />
                </div>
                <div className="form-group">
                    <label for="exampleFormControlSelect1">Favourite Platform</label>
                    <select
                        className="form-control"
                        id="exampleFormControlSelect1"
                        required
                        name="platform"
                        value={query.platform}
                        onChange={handleChange()}
                    >
                        <option>Github</option>
                        <option>Gitlab</option>
                        <option>Bitbucket</option>
                    </select>
                </div>
                <hr/>
                <div className="form-group mt-3">
                    <label className="mr-2">Upload your CV:</label>
                    <input name="file" type="file" onChange={handleFileChange()}/>
                </div>
                <hr/>
                {formStatus ? (
                    <div className="text-success mb-2">
                        Your message has been sent.
                    </div>
                ) : (
                    ""
                )}
                <button type="submit" className="btn btn-primary">Submit</button>
            </form>
        </div>
    );
}

export default Form
There are several things to check for the code block above:
- We are using Axios to submit our form. You need to add axios to your repository by running
yarn add axios - We are using Bootstrap classes on our form, so if you wish to keep using them, add bootstrap to your repository by running
yarn add react-bootstrap bootstrap. - After successfully installing the bootstrap, add
import 'bootstrap/dist/css/bootstrap.min.cssto_app.jsunder the pages directory. - const GETFORM_FORM_ENDPOINT section is to point your Getform form endpoint. You can change it to one that you have generated on Step 0 while creating your form endpoint.
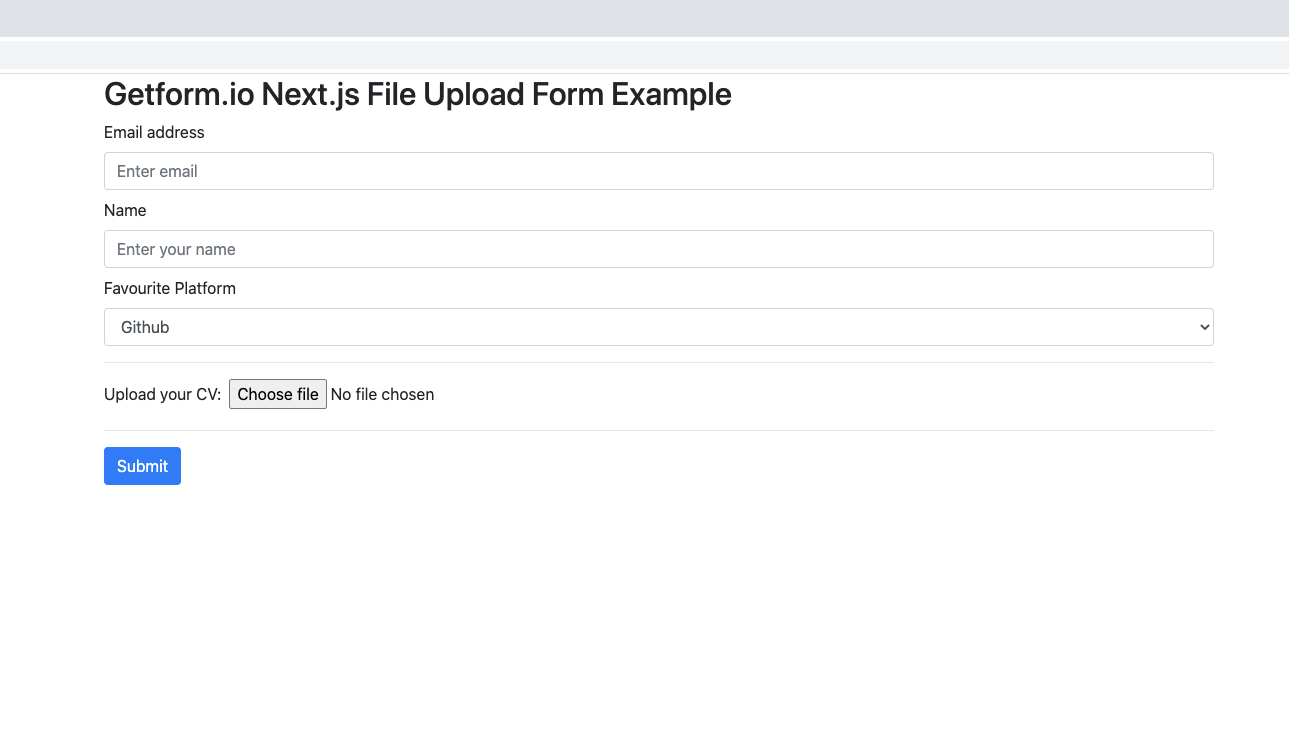
Here's how your form should look like at localhost:3000/contact if you have followed along.
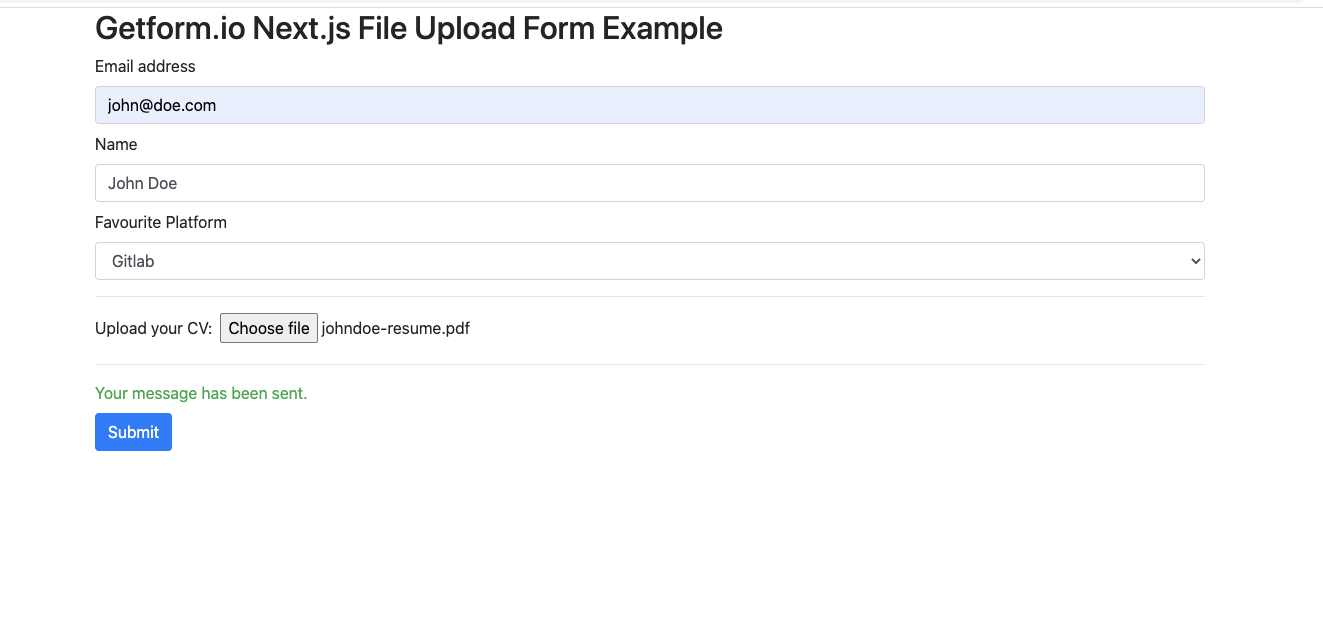
Step 4: Test your form by submitting a sample form submission!
Our contact page is ready to receive submissions now. Lets fill out the fields and press submit.
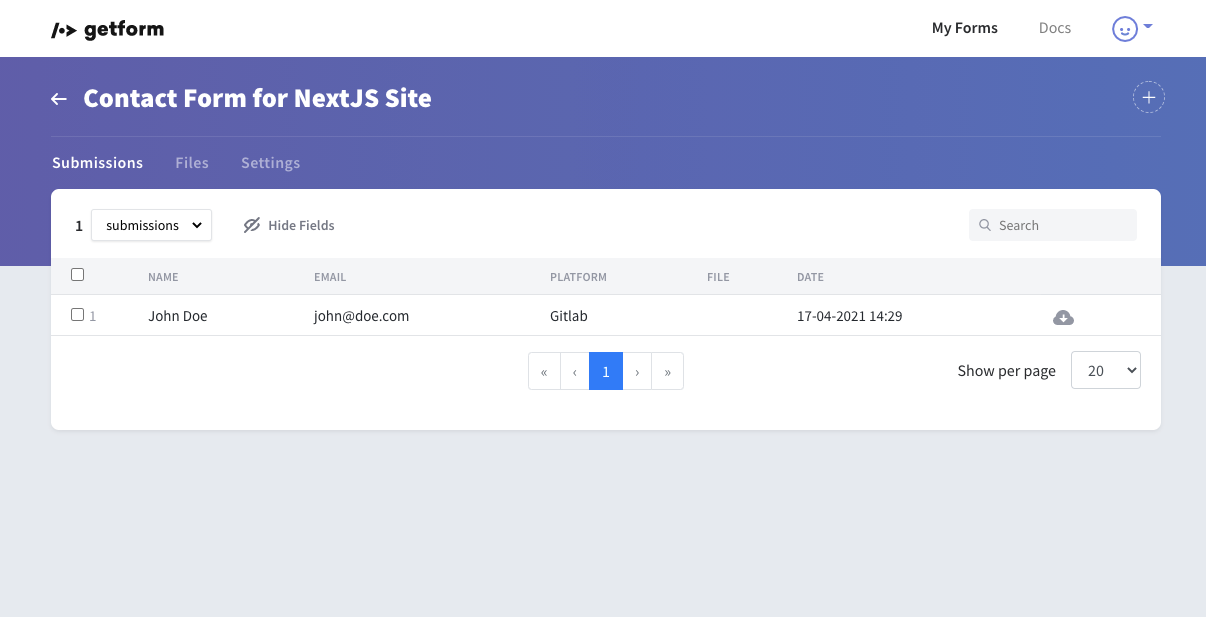
Once it's submitted, here's how it looks on your Getform dashboard:
Uploaded files along with the submissions can be found and previewed under the Files tab.
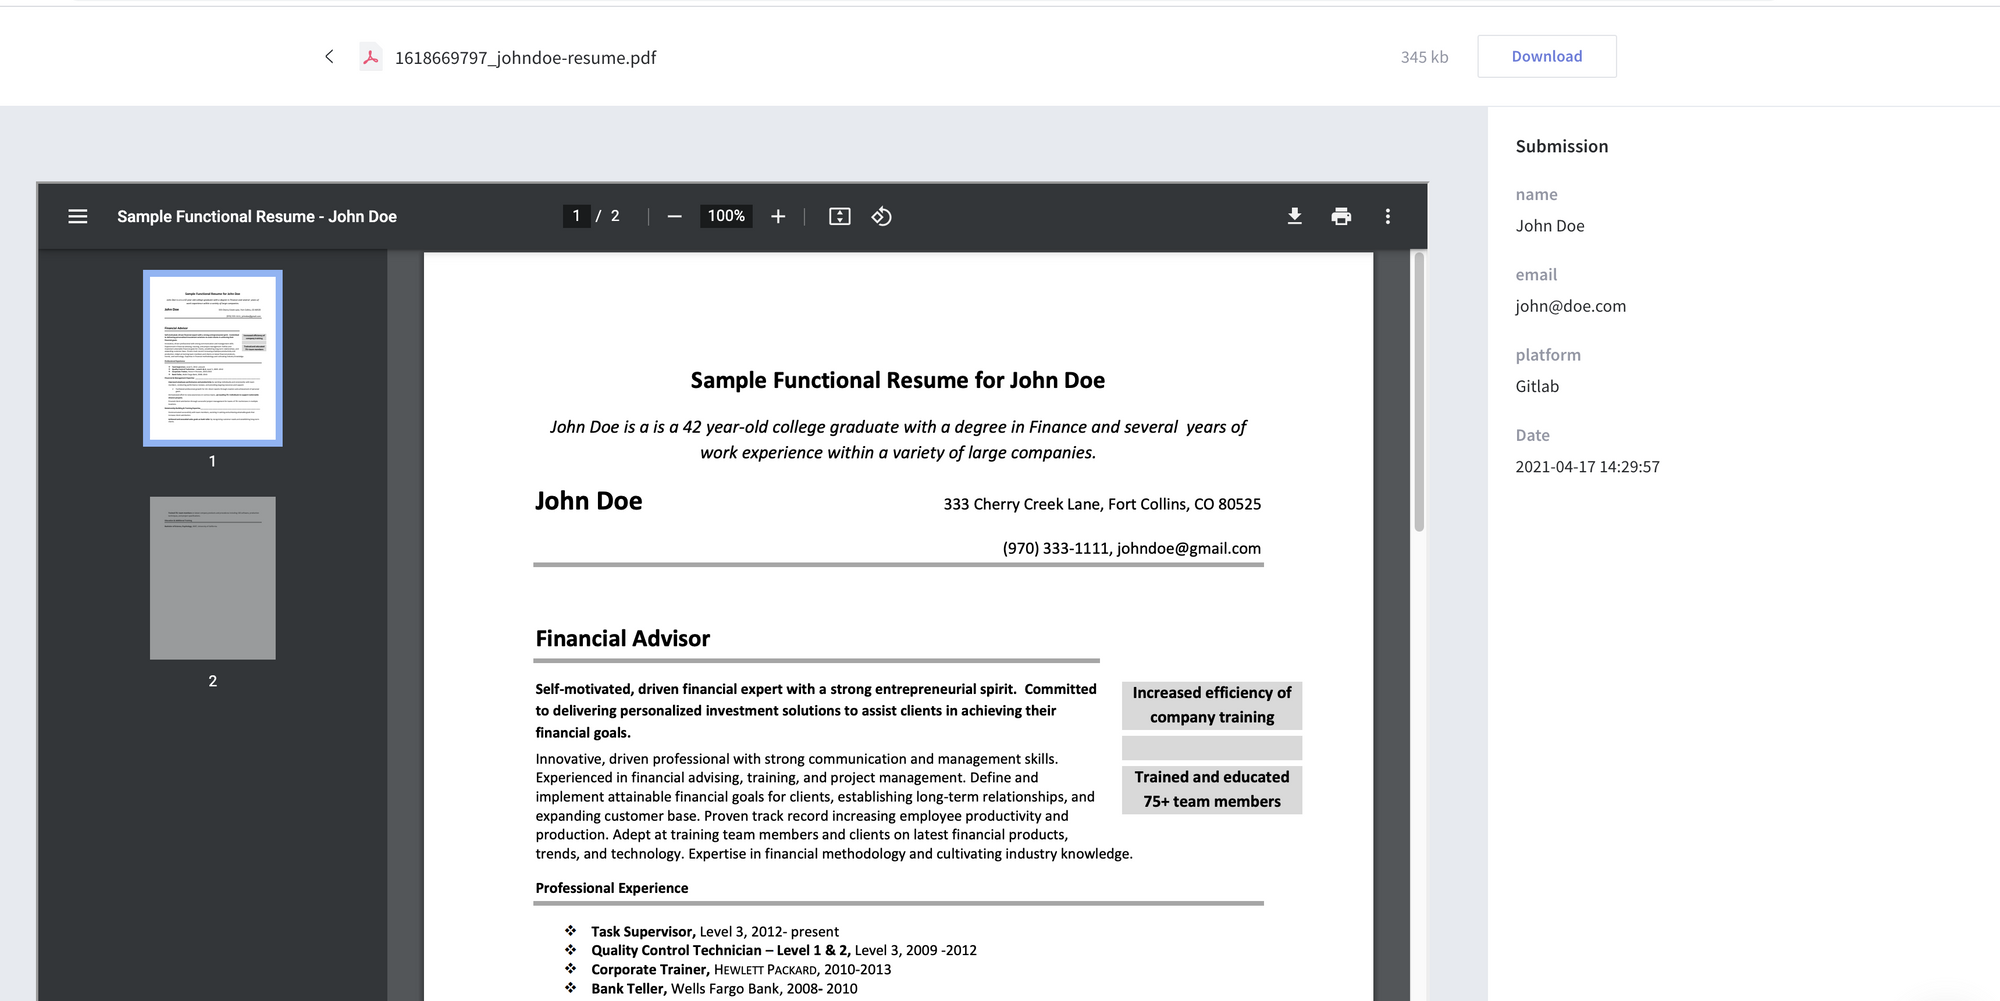
You can learn more about file upload forms and supported preview file types on the following documentation link

That’s it! Your Next.js app is now using Getform to handle form backend.
Step 5: Deploy your Next.js form to Vercel (Optional)
Vercel provides a super simple platform to deploy serverless applications. And it's out of the box support for NextJs makes it even easier.
First install the now platform globally
$ npm i -g nowAnd then simply type now to deploy your application to the platform.
$ nowOnce the deployment is complete you should receive url to test your application online, something similar to https://nextjs-getform-example-mertcanyucel.vercel.app/.
You can run the now platform locally using the following command.
$ now devYou can find the source code of this tutorial here.
What else can you do with Getform?
- Setting up email notifications
If you wish to receive an email everytime a visitor submits to you form, you can setup email notifications using the email notification plugin.
- Setting up advanced workflows using Zapier
Getform lets you integrate with other tools to allow you to wrangle your form submissions. Using Zapier integration, you can accept incoming submissions and connect with more 1500+ applications.
- Preventing spam with reCAPTCHA
Spam is also a real thing. You don’t want your inbox flooded with spam, so you can take advantage of Getform's Google reCaptcha Integration for both of the reCaptcha versions.
If you liked this post, don't forget to share and follow us on LinkedIn and Twitter for more updates!
If you would like help setting up Getform on your Next.js apps, feel free to reach us out at info@getform.io
Mertcan from Getform
Smart form endpoints