
Hexo is fast, simple & powerful blog framework, powered by Node.js. The benefit of a static site created like Hexo is that you do not have to worry about extra costs that you might face on the pay-as-you-go server backed blogs, however static sites do come with some drawbacks.
One of the first drawbacks you might encounter is creating a contact form for your site. Since there is no communication between the browser and the server to send an email from the form you need a form backend platform like Getform. That’s why we created Getform for static site builders.
In this example, we will walk you through on how to set up a contact form on a Hexo site. If you don’t have any Hexo website or no idea how to setup one, you can check out the official Hexo website to get started.
Setup a backend to Hexo contact form using Getform
1- Create a Getform account
If you haven’t created one already, sign up to Getform. It is super easy and free. You don’t need to provide any credit card info to get started.
2- Create a new form on Getform
After you log in to Getform, click to “+” button on your dashboard to create a new form, then name it e.g. “Contact Form for my Hexo Site” . Grab your unique endpoint URL to use it.
3- Prepare your Hexo contact form for your website
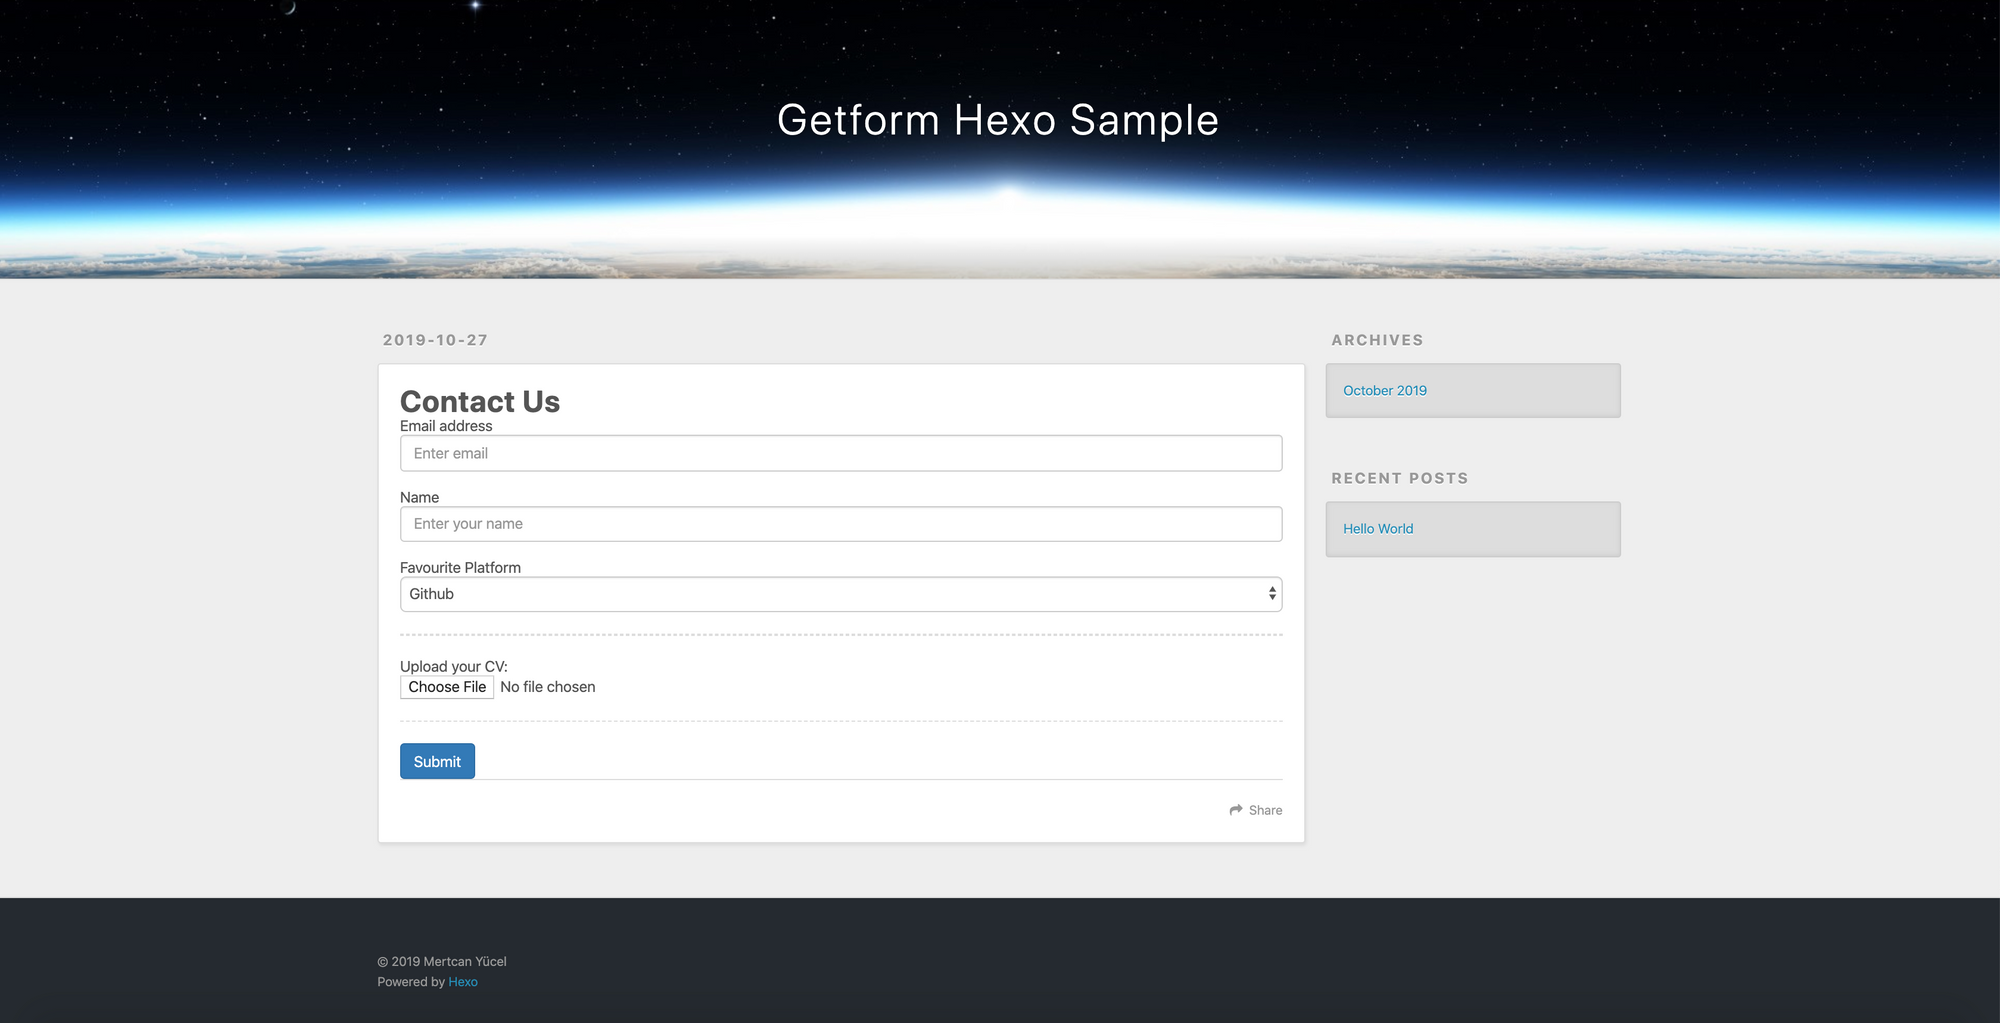
You can use the boilerplate code provided on Getform to create your HTML form. It is a basic contact form with email address, name, favorite platform and file upload fields like this:
4- Generate a new Hexo site
Use the quickstart instructions on the official Hexo website to create your simple Hexo website as follows:
$ npm install -g hexo-cli
$ hexo init hexo-personal-site
$ cd hexo-personal-site
$ npm install
$ hexo server
=> Now go to http://localhost:4000 and you will see the starter blog template! Very easy to get up and running. An empty Hexo blog with the default theme will welcome you as follows:
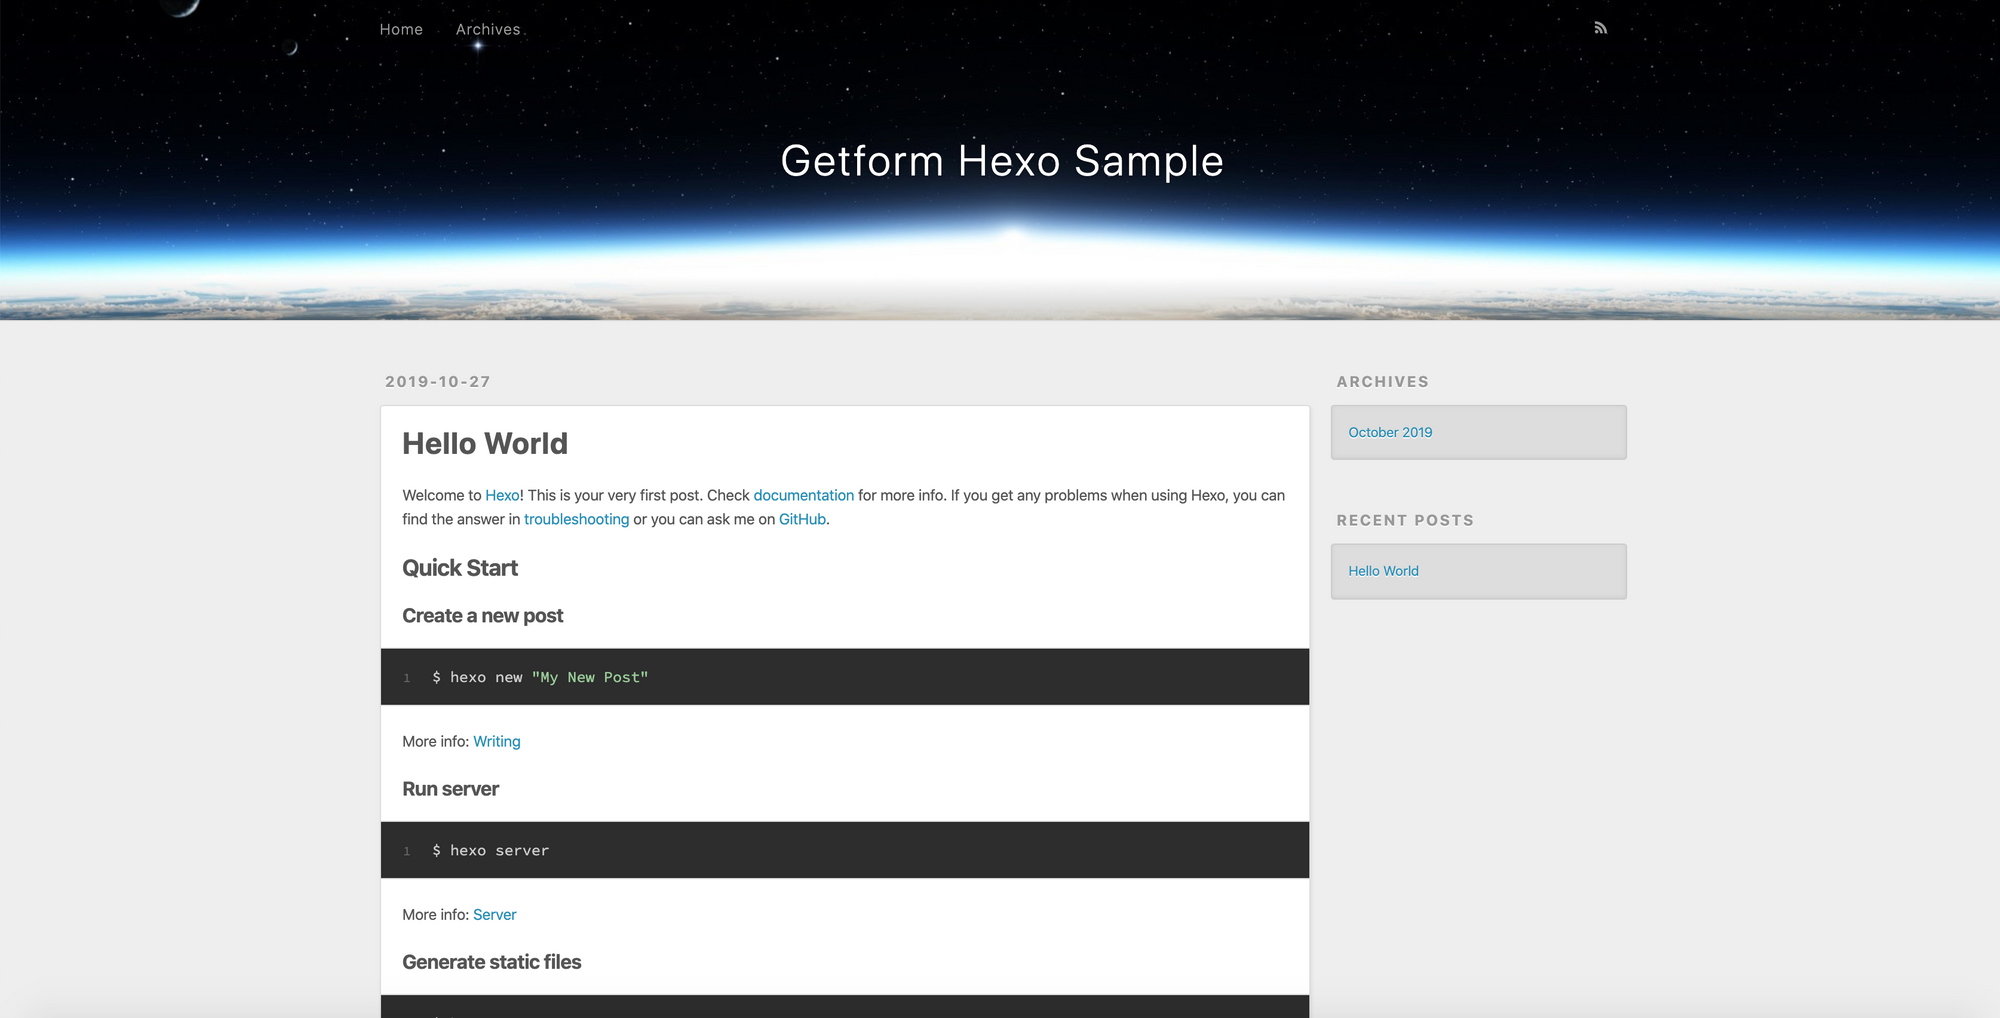
PS: If you want to use a community build theme go to github/hexo/wiki/themes and choose one from the list. Change line 66 of _config.yml to the name of the theme you want (default is 'landscape').
5- Add a Contact page to your Hexo site.
We have succesfully served our Hexo site. We can create a new section for our to setup contact form.
- Create a new directory called contact under source/_posts directory and create new markdown file called index.md inside of it.
- Change its content with the following code block, the contact form itself will be html, which will work fine in markdown and html files :
- Don’t forget to change the
actionpart of your<form>tag in your contact.md file, to use the form endpoint URL you copied in step 2.
https://getform.io/{YOUR_UNIQUE_FORM_ENDPOINT}
run hexo server and go to localhost:4000/contact/. Here is how your contact page looks like:
6- Test your form on your Hexo site by submitting a sample form entry!
That’s it! Your Hexo form backends are now handled by Getform.
Now Getform will handle the contact form submissions on your Hexo site, all with just a few lines of code.
After you finish the setup, based on your needs, you can optionally set up an email notification from form settings, use the Zapier integration to send your form submission data to 1000s of other applications and keep your form submissions spam protected by using reCaptcha integration.
Thank you for reading it! We keep enhancing Getform by listening to you, leave us your feature requests at https://getform.nolt.io or vote on the existing requests.
Checkout our Codepen page, Zapier page and Documentation for more information and guides.
If you would like help setting up Getform to Hexo site, feel free reach us out at info@getform.io.
Mertcan from Getform
Form backend platform for designers and developers