

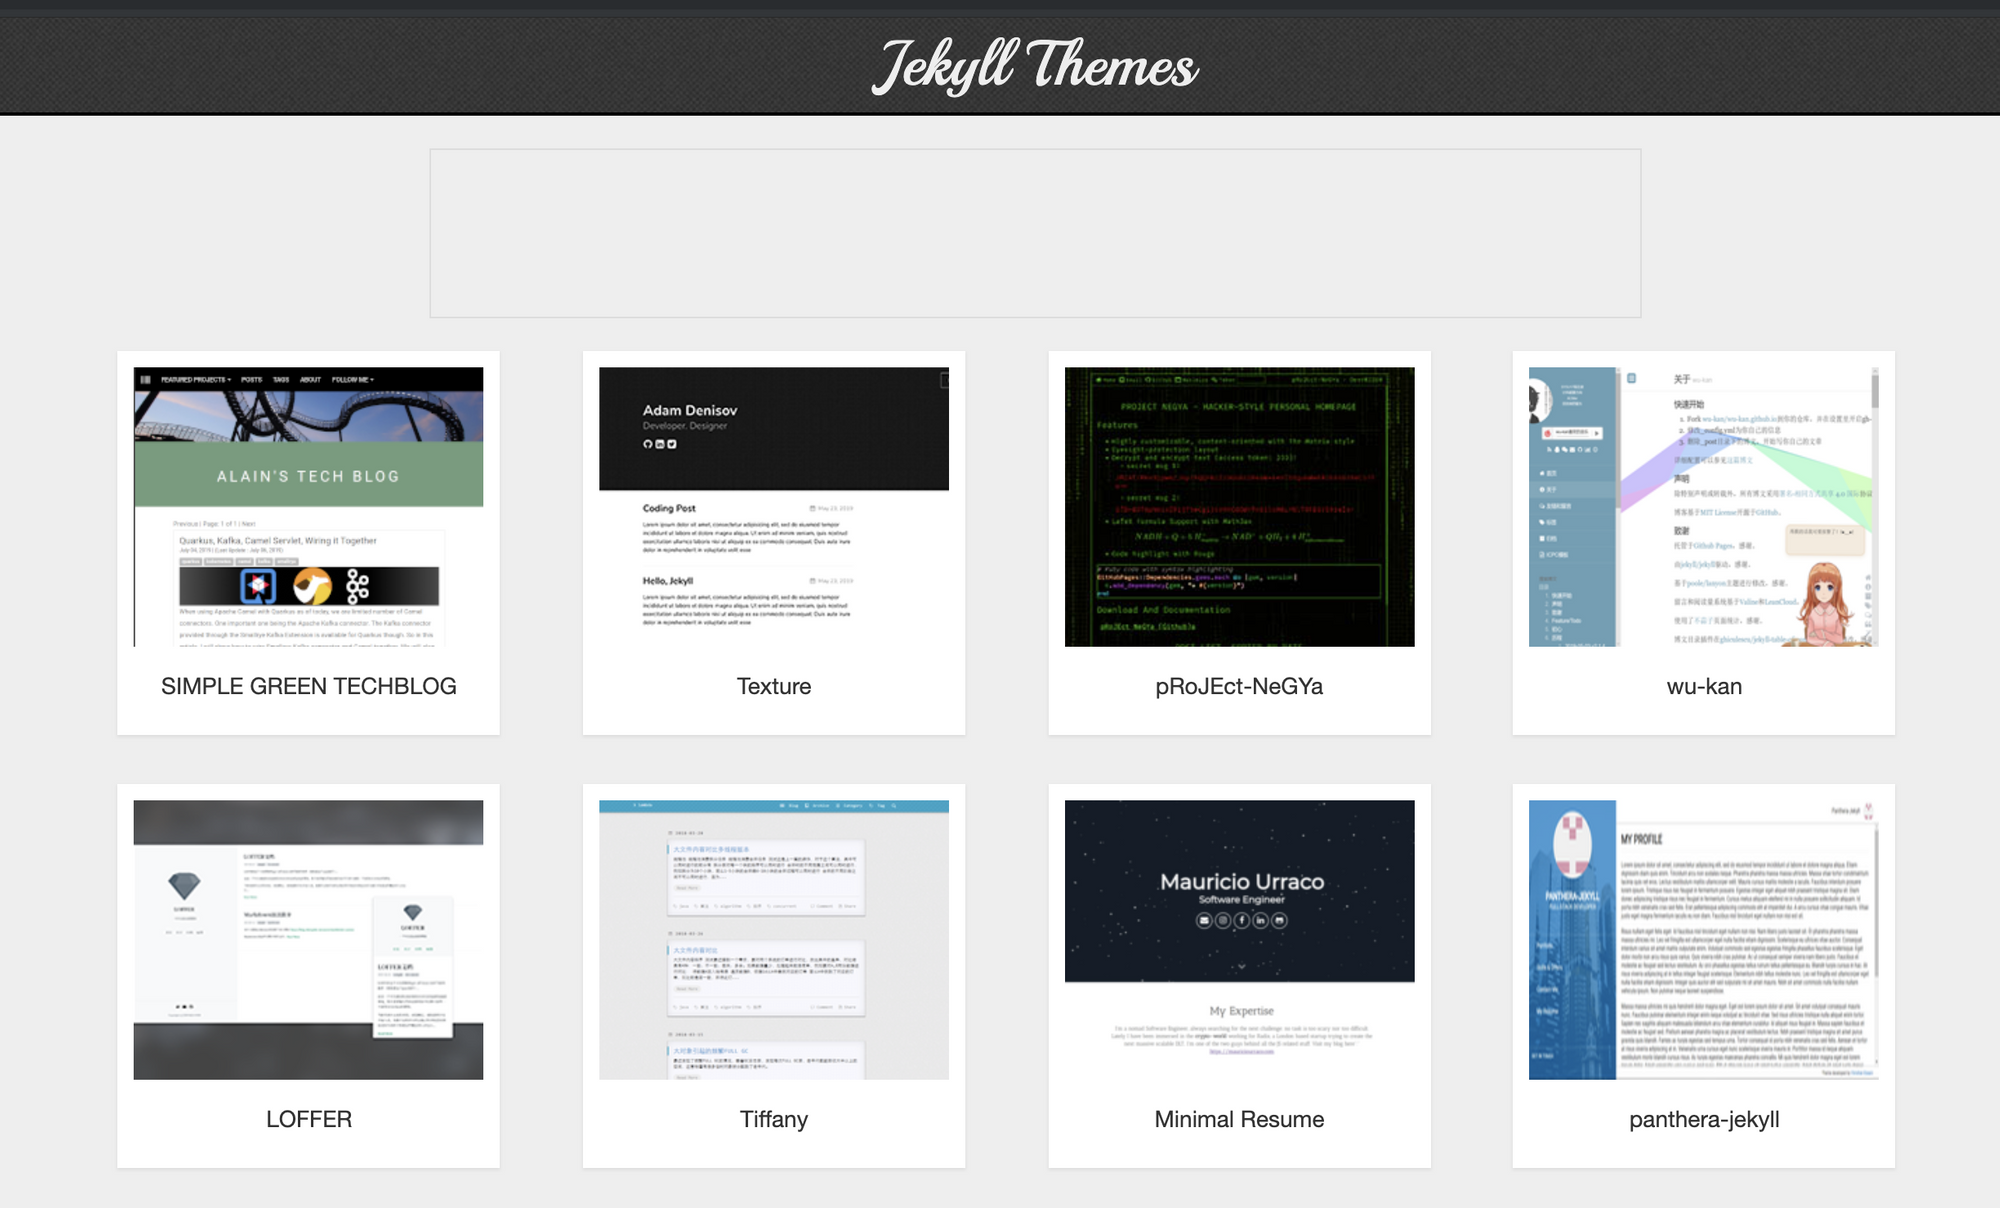
Jekyll is a parsing engine bundled as a ruby gem used to build static websites from dynamic components such as templates, partials, liquid code, markdown, etc. It is really very popular and also the engine behind Github pages. That’s the reason why it has a strong adoption by the developer community. It powers up many websites and blogs and has dozens of great themes to easily get started.
But even though serving static pages such as Jekyll is secure and really fast, one of the main drawbacks is that the forms aren’t supported. You don’t have form endpoints available to accept your form submissions and do something useful with them.
That’s why we created Getform for static site builders. Using Getform, you don’t need to embed ugly iframe that many of form builder services offer. We want you to keep control of your markup and the style of your form.
In this example, we will walk you through on how to set up a contact form on a Jekyll site. If you don’t have a Jekyll website or no idea how to setup one, you can check out the official website to get started.
Setup a form backend to your Jekyll site using Getform
1- Create a Getform account
If you haven’t created one already, sign up to Getform. It is super easy and free. You don’t need to provide any credit card info to get started.
2- Create a new form on Getform
After you log in to Getform, click to “+” button on your dashboard to create a new form then name it e.g. “Contact Form for my Jekyll Blog”
3- Prepare your Jekyll contact form for your website
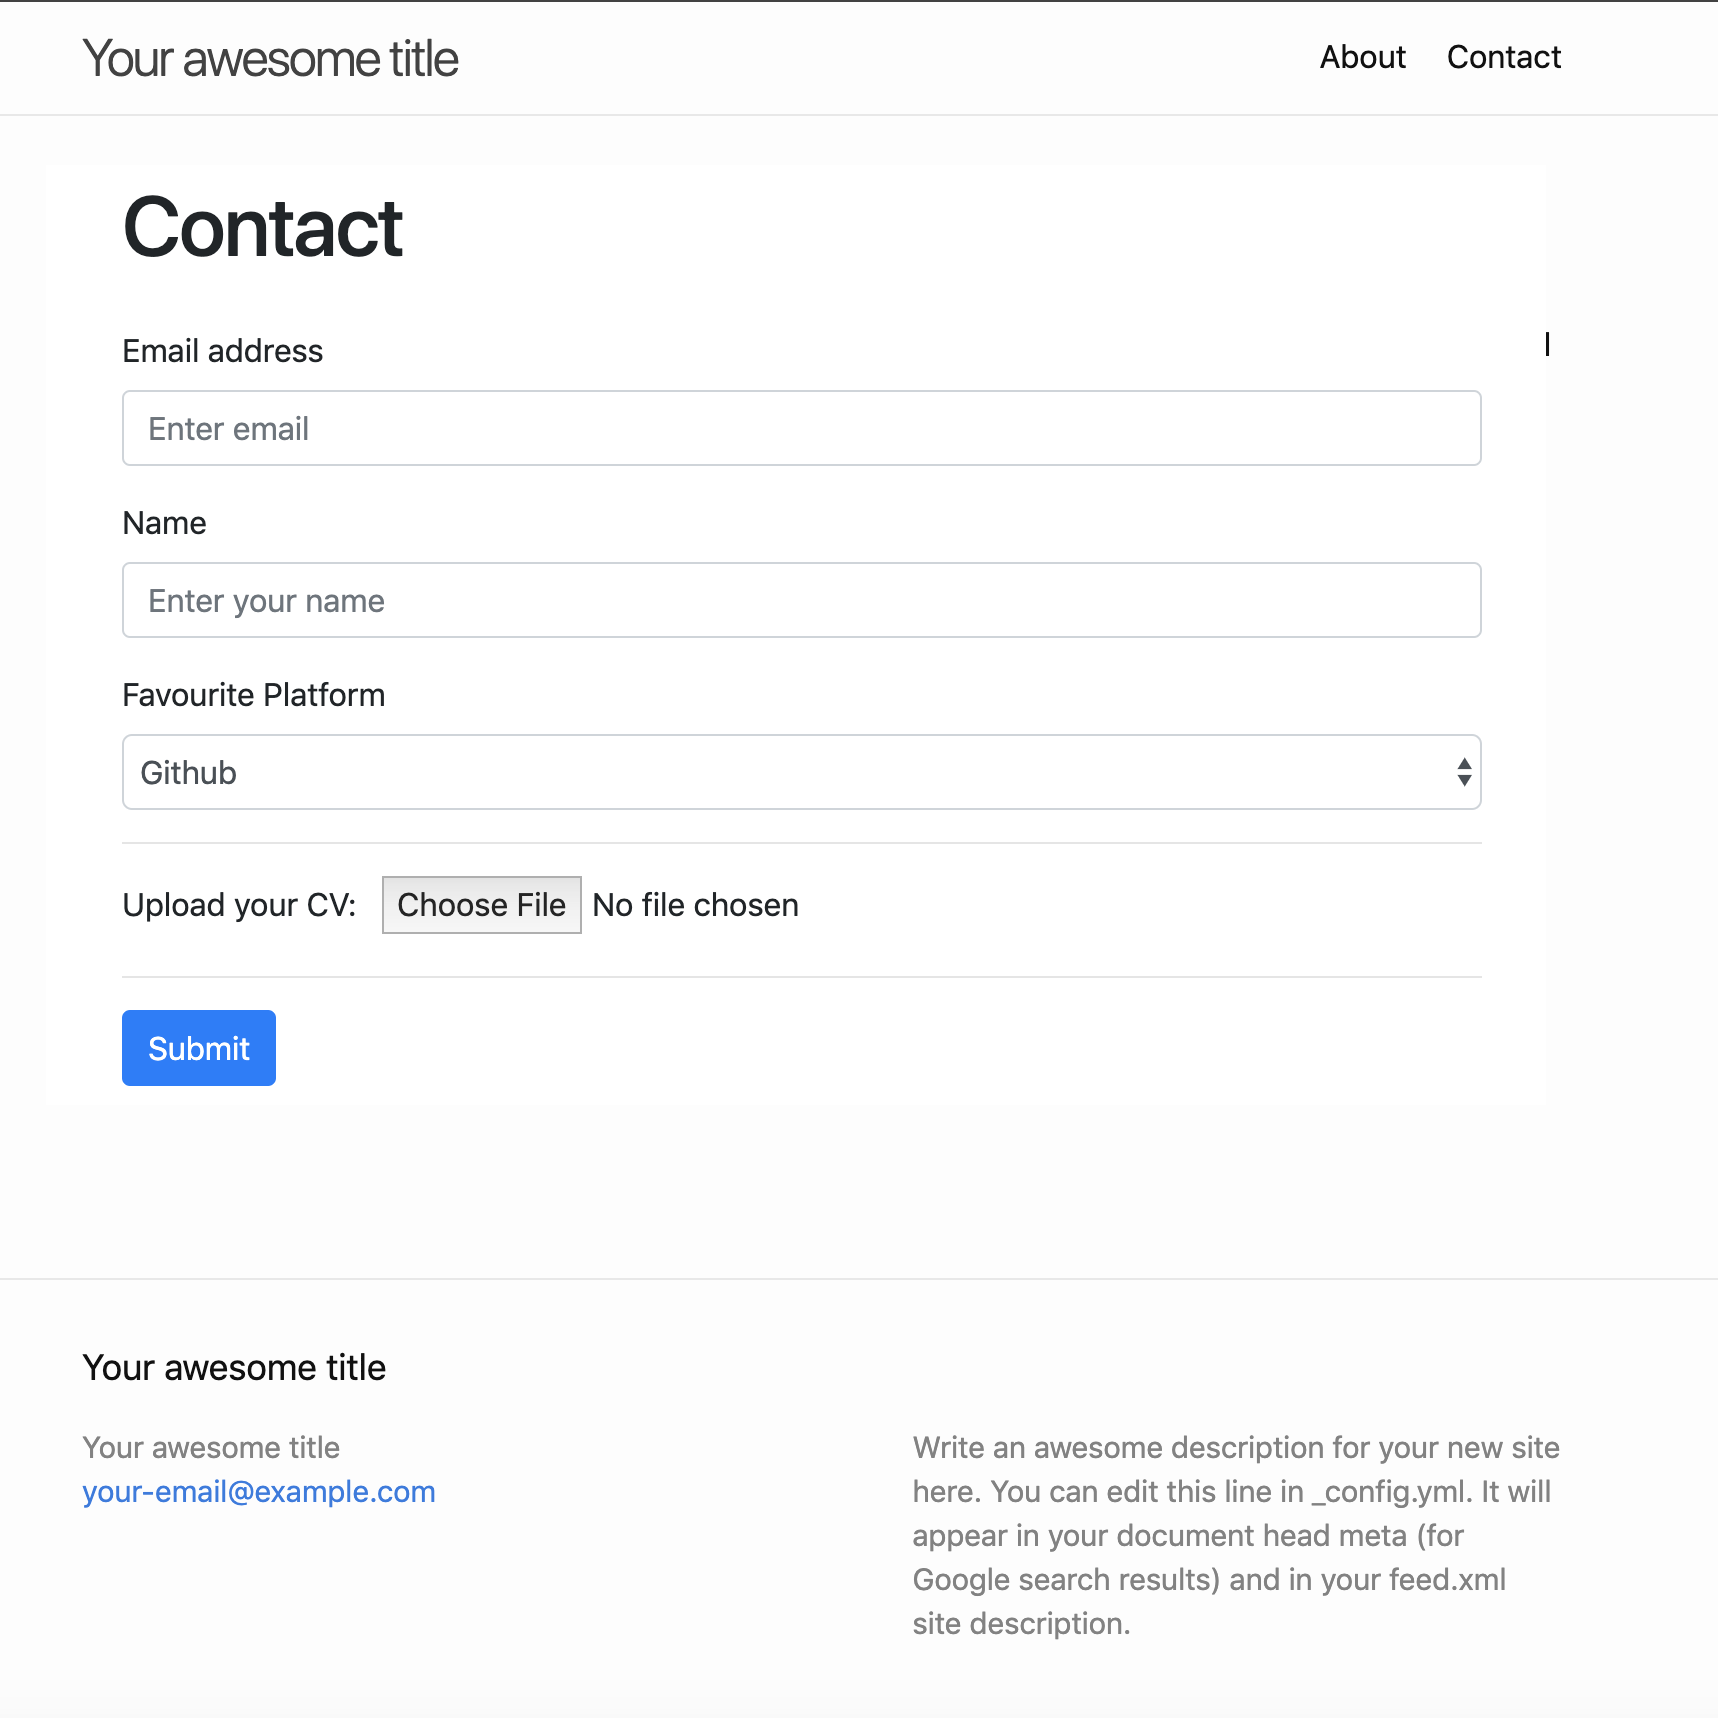
You can use the boilerplate code provided on Getform to create your HTML form. It is a basic contact form with email address, name, favorite platform and CV upload fields like this:
4- Create a new blank Jekyll site
Use the quickstart instructions on the official Jekyll website to create your simple Jekyll website as follows:
$ gem install bundler jekyll
$ jekyll new my-first-jekyll-blog
$ cd my-first-jekyll-blog
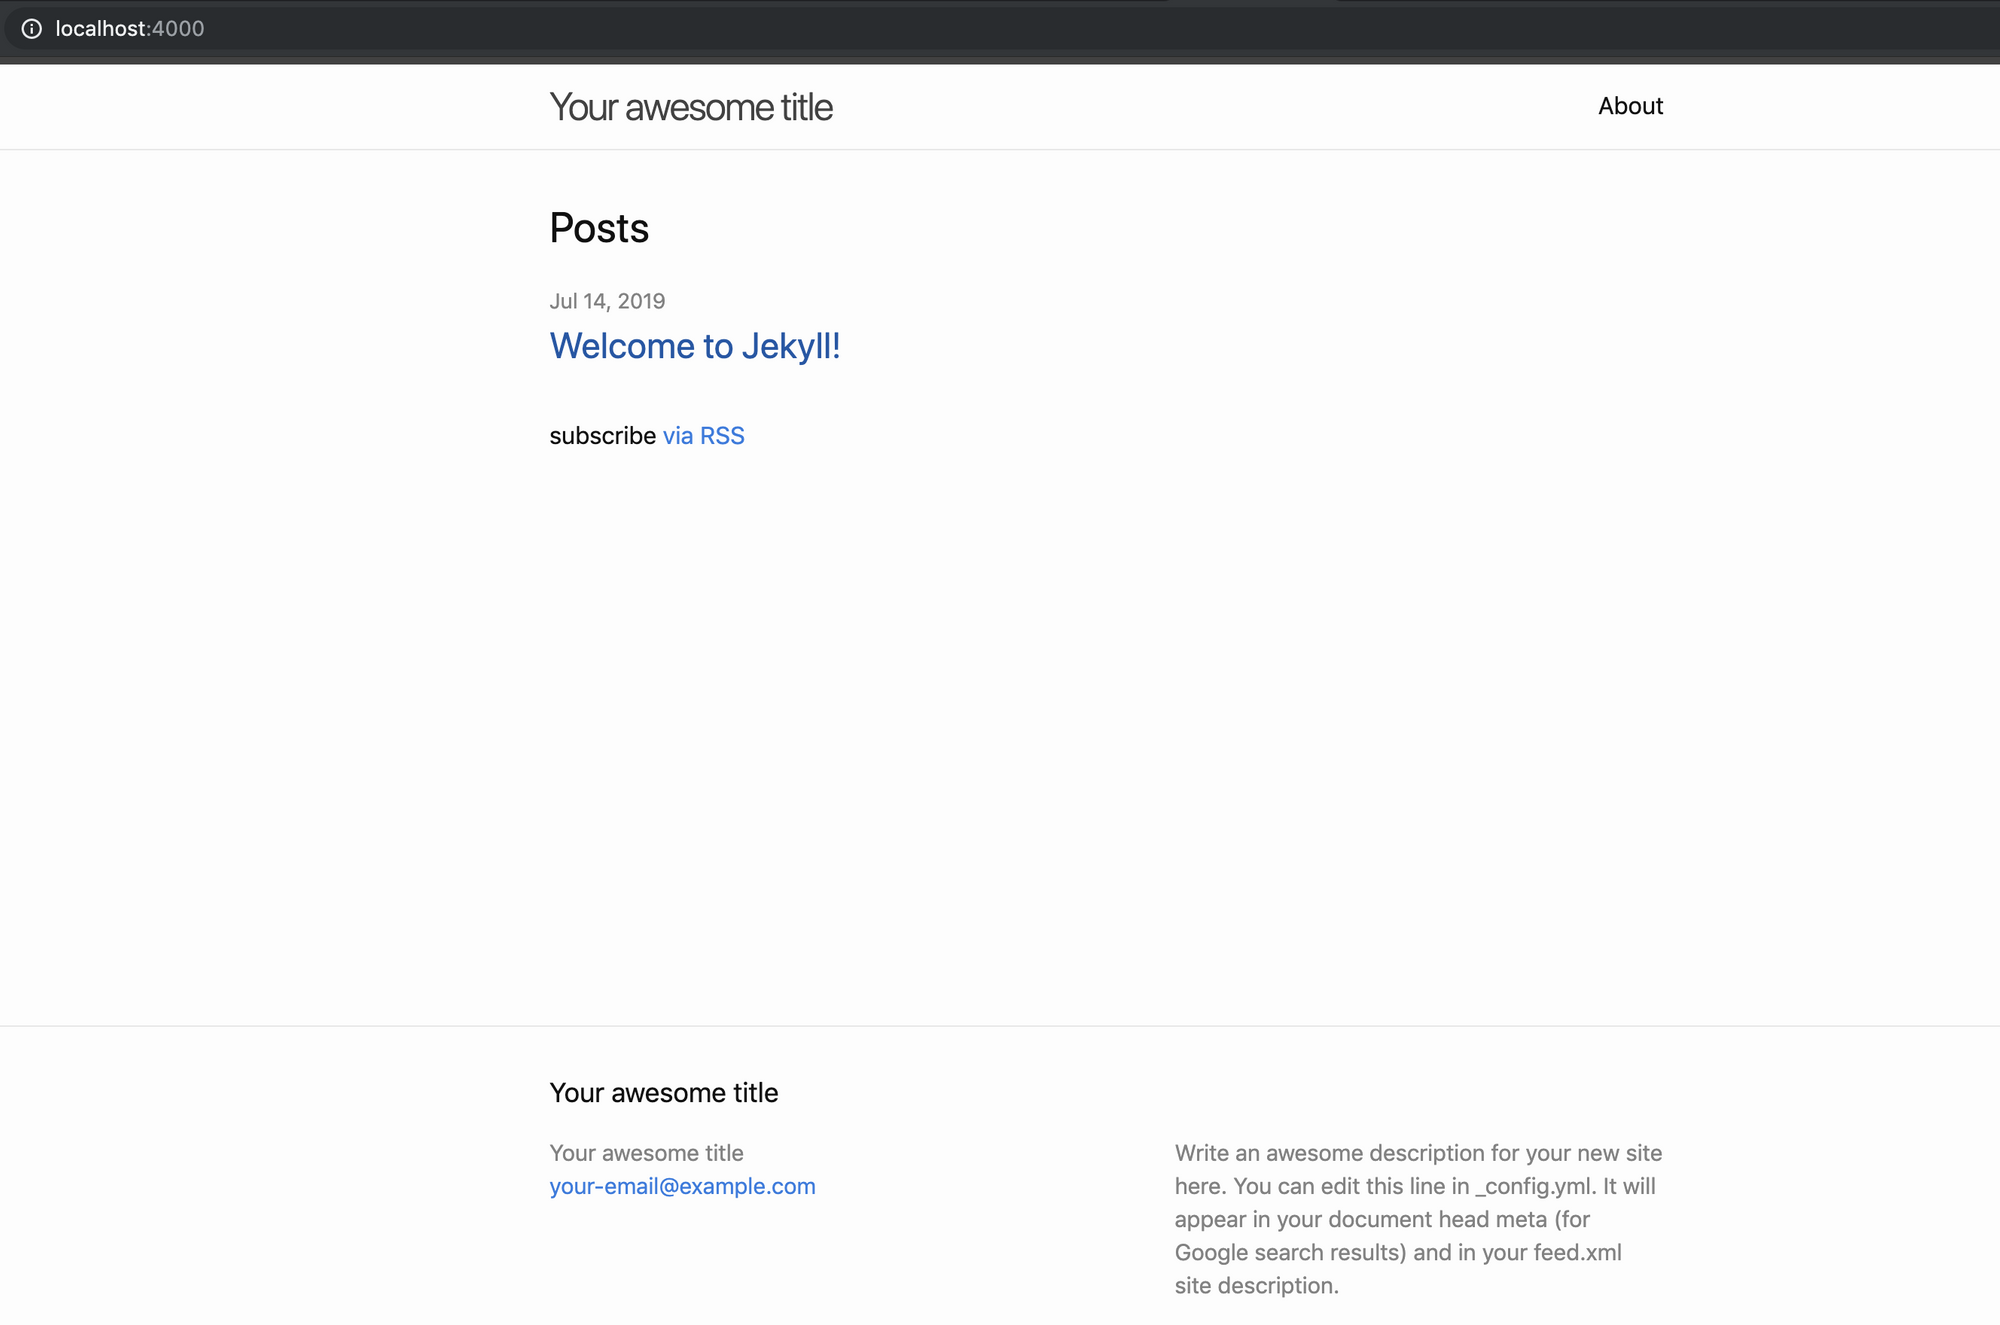
~ my-first-jekyll-blog $ bundle exec jekyll serve
=> Now browse to http://localhost:4000
An empty Jekyll site with the default theme will welcome you as follows:
5- Add a Contact Section to your Jekyll site
We have succesfully served our Jekyll site. Now let’s create a new section for our Contact page to setup our contact form.
- Create a new directory called contact under your _site directory and put index.html inside of it.
- Create a new markdown file and name it as contact.markdown file, change its content with the following code block:
---
layout: page
title: Contact
permalink: /contact/
---

<form accept-charset="UTF-8" action="https://getform.io/{YOUR_UNIQUE_FORM_ENDPOINT}" method="POST" enctype="multipart/form-data" target="_blank">
      <div class="form-group">
        <label for="exampleInputEmail1" required="required">Email address</label>
        <input type="email" name="email" class="form-control" id="exampleInputEmail1" aria-describedby="emailHelp" placeholder="Enter email">
      </div>
      <div class="form-group">
        <label for="exampleInputName">Name</label>
        <input type="text" name="name" class="form-control" id="exampleInputName" placeholder="Enter your name" required="required">
      </div>
      <div class="form-group">
        <label for="exampleFormControlSelect1">Favourite Platform</label>
        <select class="form-control" id="exampleFormControlSelect1" name="platform" required="required">
          <option>Github</option>
          <option>Gitlab</option>
          <option>Bitbucket</option>
        </select>
      </div>
      <hr>
      <div class="form-group mt-3">
        <label class="mr-2">Upload your CV:</label>
        <input type="file" name="file">
      </div>
      <hr>
      <button type="submit" class="btn btn-primary">Submit</button>
    </form>
Setting permalink: contact will ensure that your new page is available at yourdomain.com/contact.
- Don’t forget to change the
actionpart of your<form>tag in your contact.md file, to use the form endpoint URL you copied in step 2.
https://getform.io/{YOUR_UNIQUE_FORM_ENDPOINT}
run jekyll serve and go to localhost:4000/contact/. Here is how it looks like:
6- Test out your form on your Jekyll site by submitting a form entry!
That’s it! Your Jekyll site is now using Getform for handling forms.
Now Getform will handle the contact form submissions on your Jekyll site, all with just a few lines of code.
After you finish the setup, based on your needs you can also set up an email notification from form settings, use our Zapier integration to send your form submission data to 1000s of other applications and keep your form submissions spam protected by using reCaptcha integration.
Ready to start?
Get started by creating your Getform form now!
Create your formThank you for reading it! We keep enhancing Getform by listening to you, leave us your feature requests at https://getform.nolt.io or vote on the existing ones.
Checkout our Codepen page, Github page and Documentation for more information and samples.
Need help?
Just drop us a line at info@getform.io and we'll help you out.
Mertcan from Getform
Form backend platform for designers and developers