

WordPress is without a doubt the most popular ways to build your website and we wouldn't be wrong if we define WordPress as the operating system of your website. According to the stats as of 2020, WordPress runs 32% of all the websites around the world.
The WordPress repository has thousands of plugins, which you can use to add new features and functionality to your static WordPress website. Plugins to setup and manage webforms is one of them. However, the WordPress plugins are not always easy to manage for several reasons such as slow performance, complicated management and might cause security risks and as much as WordPress plugins let you create forms quickly and easily, some developers and designers are looking for unique customization options that suit their expectations.
In this blog post, we'll show you how to setup a simple WordPress site and setup a customizable WordPress form on your site using Getform.
How to Create a WordPress Form Without a Plugin
If you don't have a WordPress site or don't know where to start, you can checkout the easy setup guide below which shows easy WordPress site using Docker within minutes.
1- Create a Getform account
If you haven’t created one already, sign up to Getform. It is super easy and free. You don’t need to provide any credit card info to get started.
2- Create a new form on Getform
After you log in to Getform, click to “+” button on your forms dashboard page to create a new form then name it e.g. “Contact Form for my WordPress Site" and copy the unique form endpoint that belongs to the form you have just created, we will need it in the later steps.
3- Create a new WordPress page for your Contact Form
After setting up your WordPress site, here are the simple steps for adding an HTML coded form on a WordPress page:
- Log into your WordPress dashboard, select "Pages" section and click "Add New" .
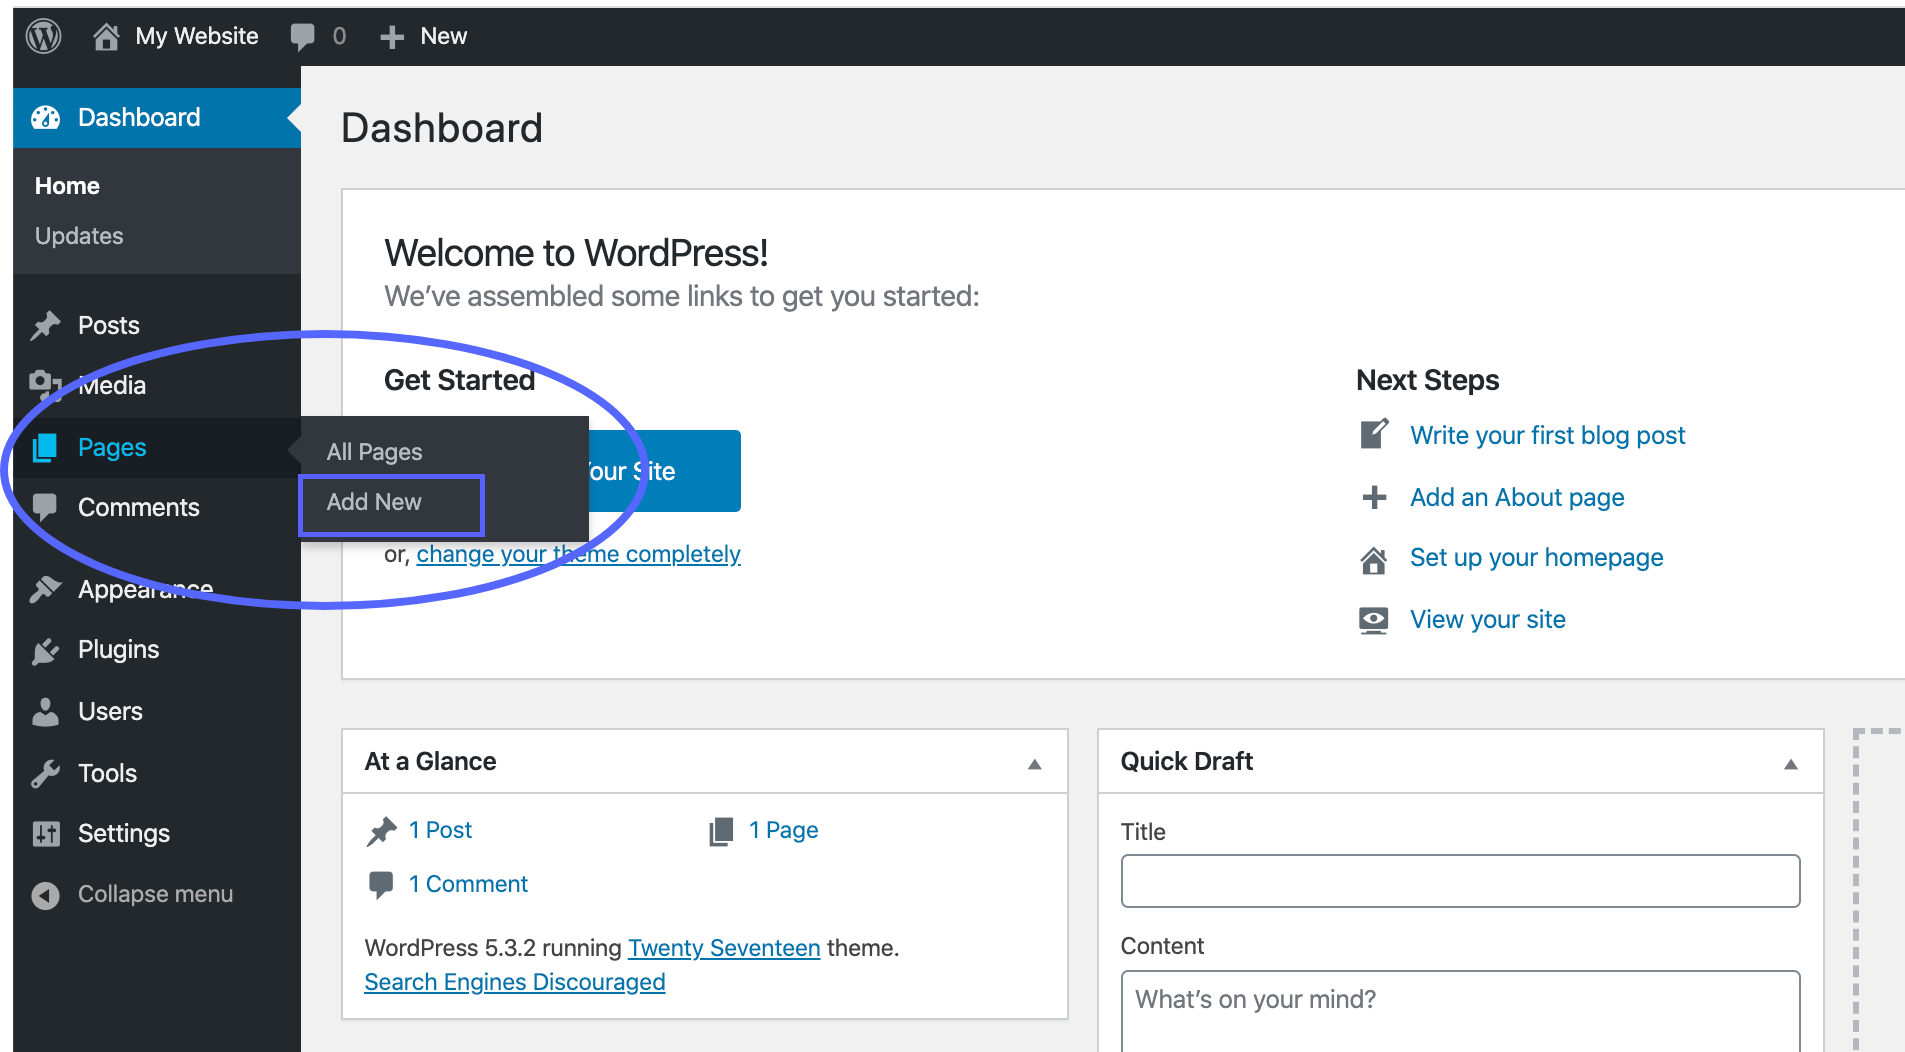
- Give the page a meaningful title, like “Contact Us.”
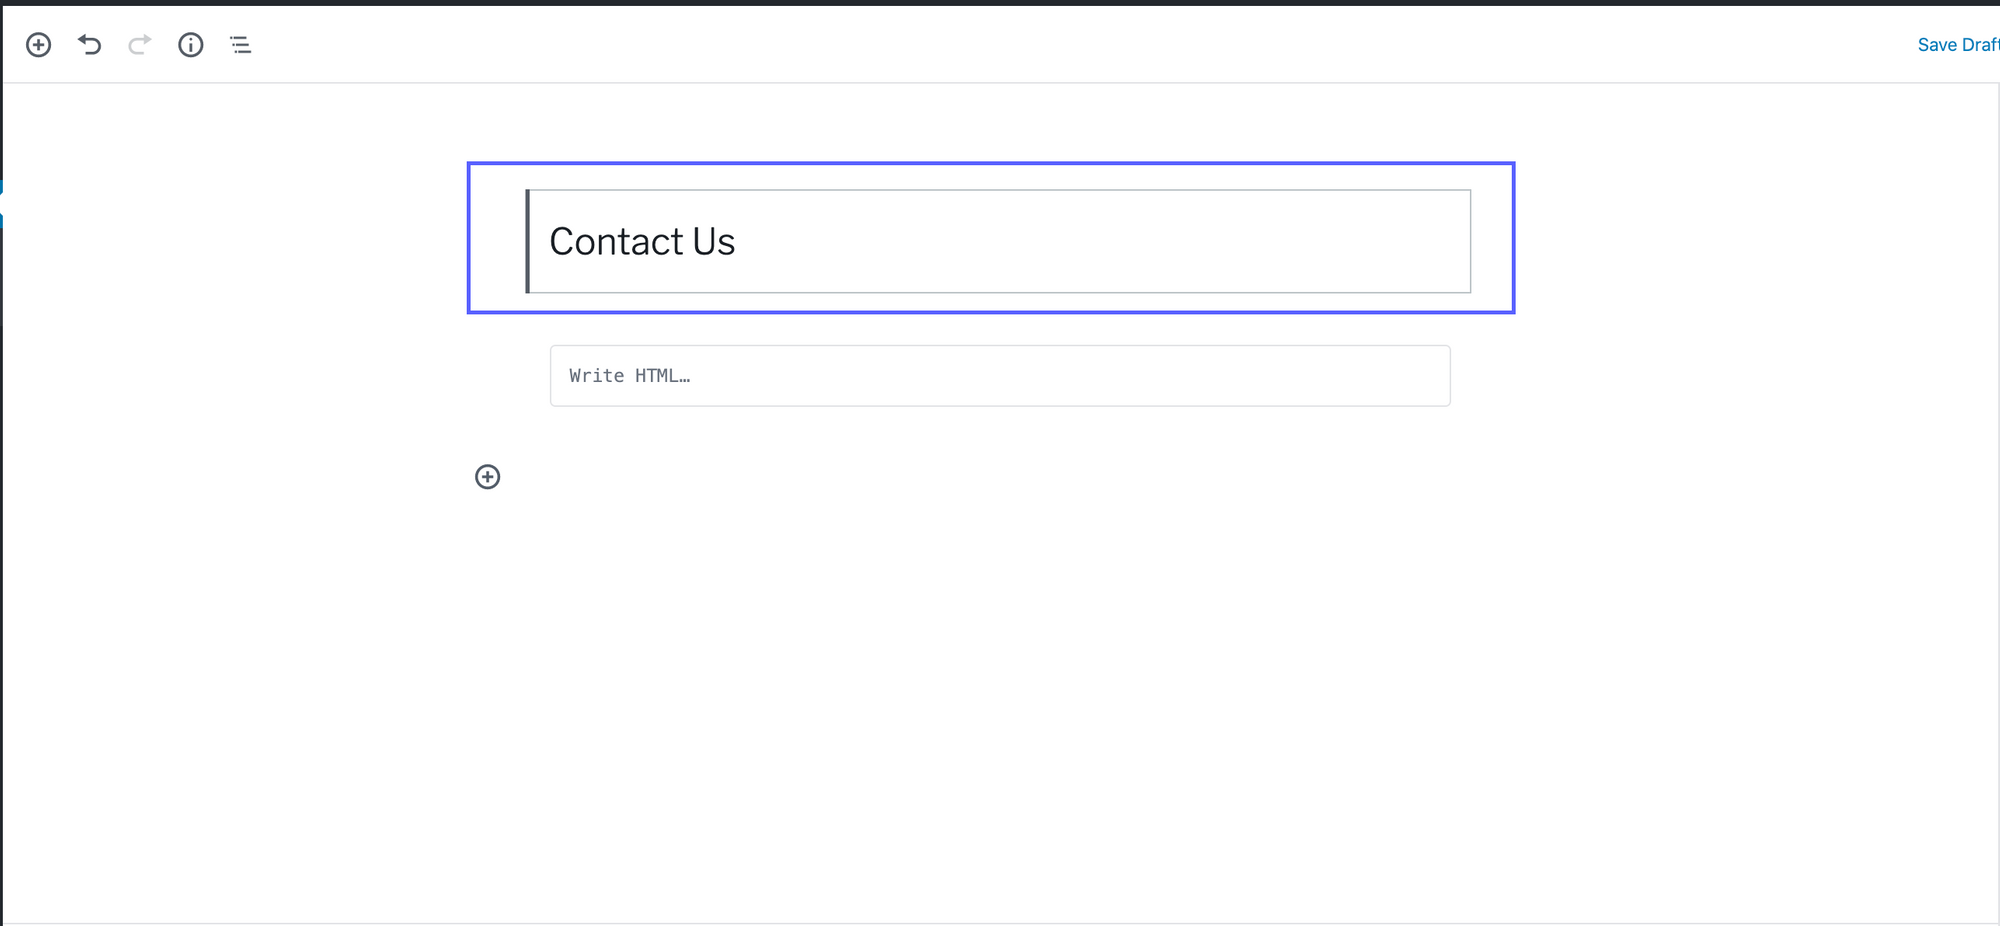
4- Add a Custom HTML Section and setup your WordPress form
After you name your Contact page, it's now time to setup your WordPress form.
For this step, we give you two options:
1- If you enable Bootstrap on your site, then you can use the code block we prepared for you:
2- If you prefer to keep the full control of your whole design for your site then you can use the form code block without bootstrap:
After you pick the code block based on your WordPress site's needs, add a Gutenberg custom HTML block and paste the form code of your choice.
PS: If you are using an old WordPress version without the Gutenberg HTML block, you can click the "Text" tab and paste the form code of your choice to the section.

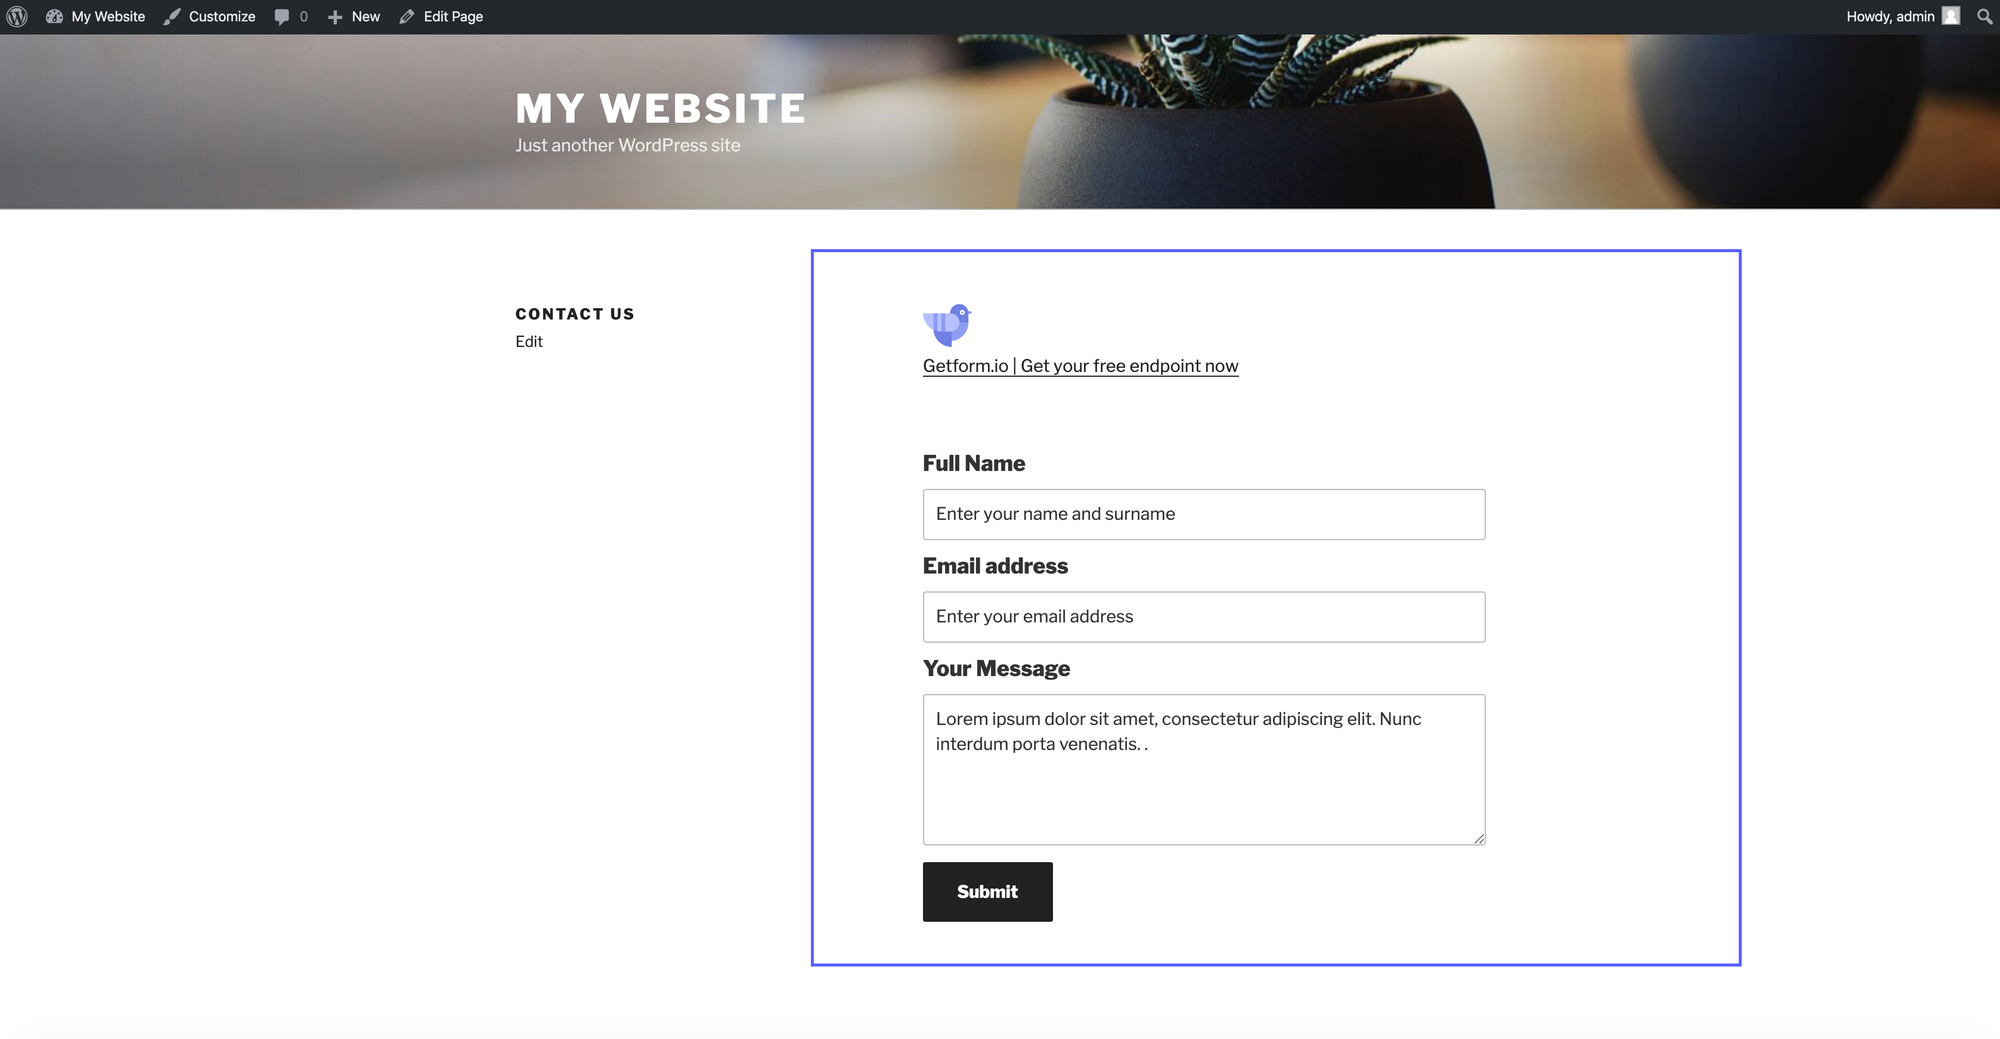
- NOTE: Don't forget to paste the endpoint URL you have gathered in step 2 to the
actionattribute of HTML block. In this way, the submissions will come to the form you have created on your Getform dashboard. - When the coded form is published on a WordPress page, the resulting output will look like as follows:
- After you fill the fields and submit it, here is how your form data will look like on your Getform dashboard.
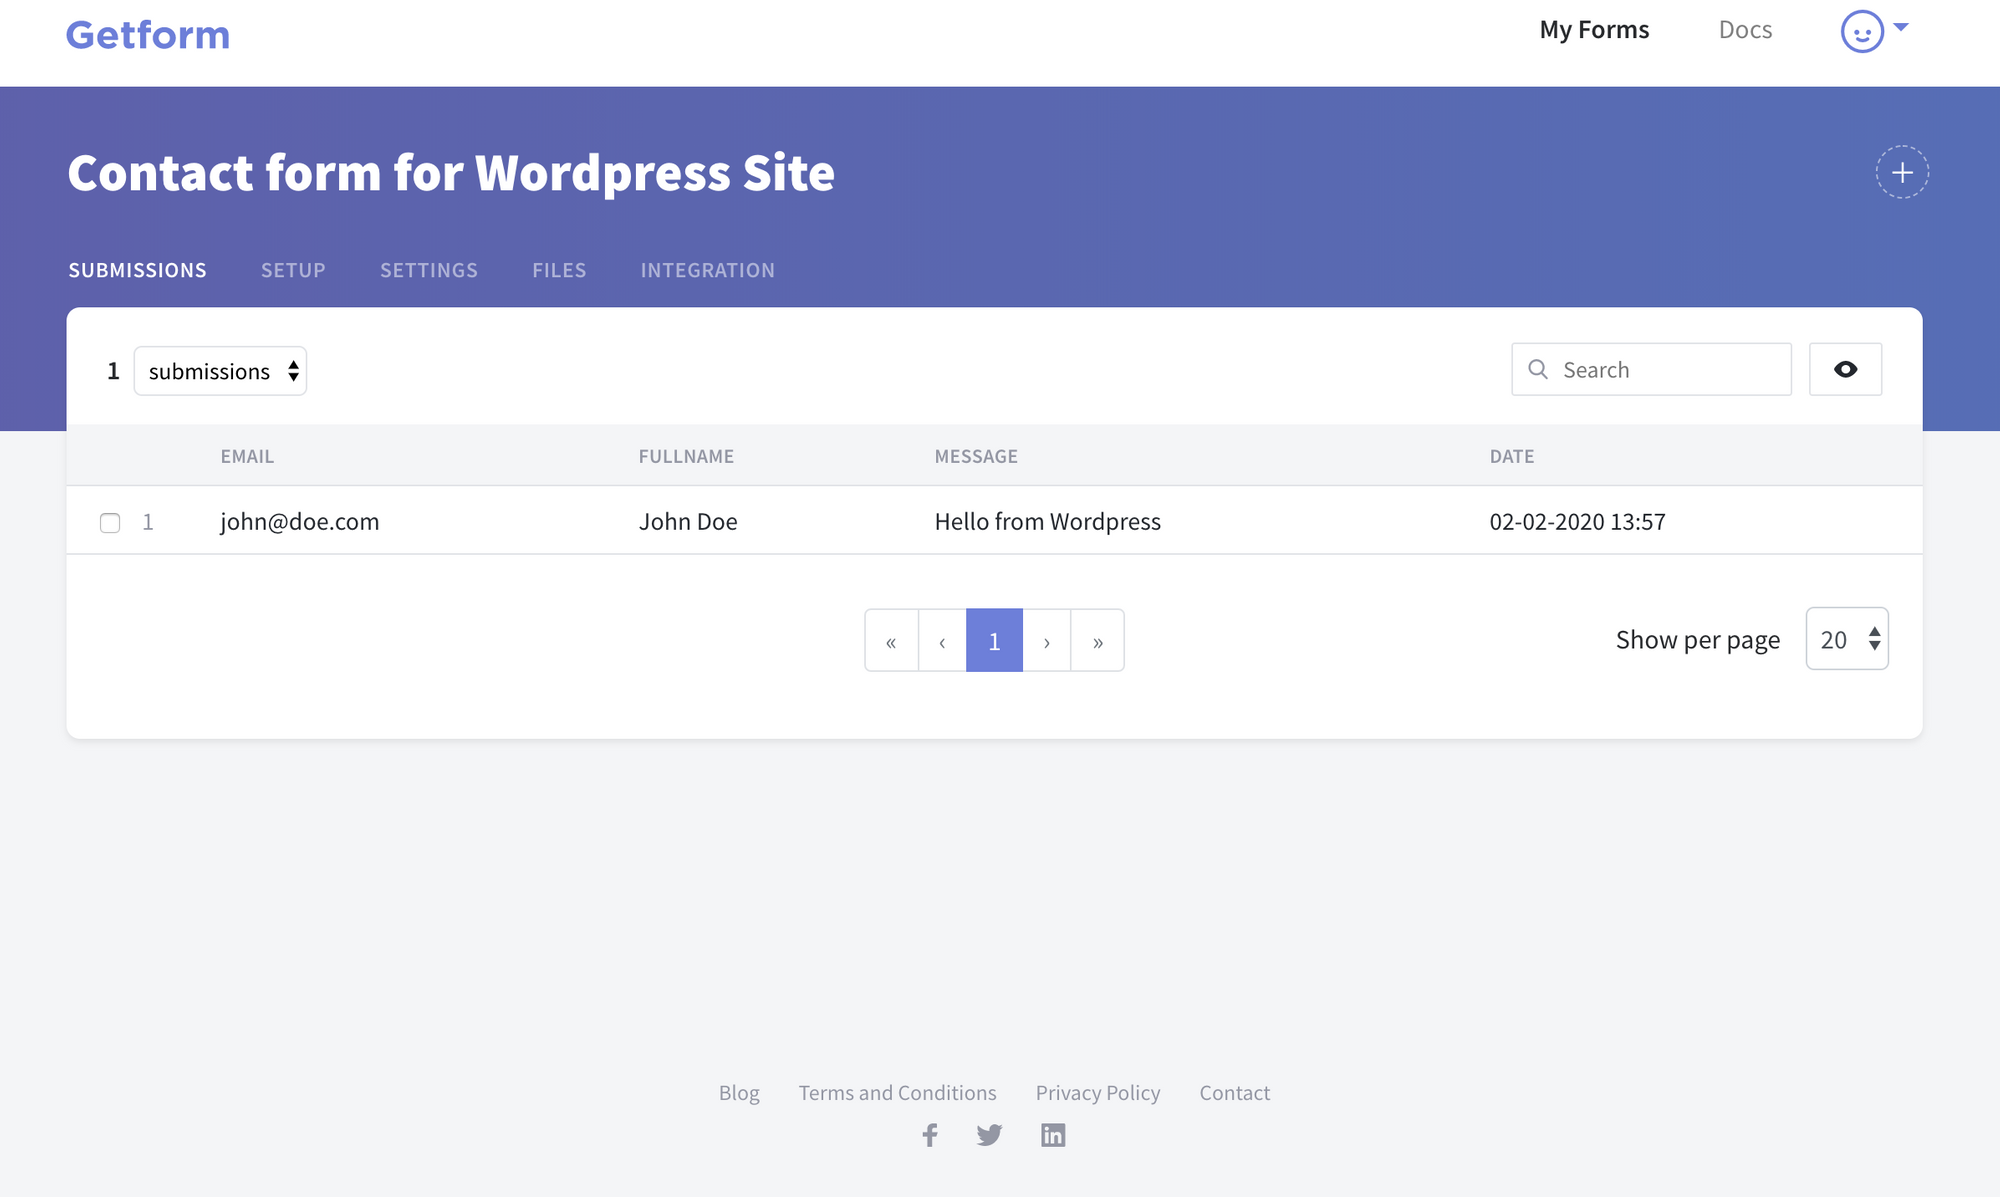
That’s it! Your WordPress site is now using Getform for handling forms.
Now Getform will handle the contact form submissions on your WordPress site, all with just a few lines of code. It is more flexible and robust solution than what you might get from a form plugin.
After you finish the setup, based on your needs you can also set up an email notification from form settings, use our Zapier integration to send your form submission data to 100s of other applications and keep your form submissions spam protected by using reCaptcha integration.
BONUS: If you would like to check out the Wordpress themes, you can visit the themes section from here: https://wordpress.org/themes/browse/featured/ and select your preferred one.
Ready to start?
Get started by creating your first form now!
Create your formThank you for reading! We keep enhancing Getform by listening to you, leave us your feature requests at https://getform.nolt.io or vote on the existing ones.
Checkout our Codepen page, Github page and Documentation for more information and samples.
Need help?
Just drop us a line at info@getform.io and we'll help you out.
Mertcan from Getform
Form backend platform for designers and developers