

11ty (Eleventy) is a simple static site generator created by Zach Leatherman to become a simpler alternative to other static site generators like Gatsby, Jekyll and Hugo. Major difference of Eleventy compare to others is to allow you to mix and match templating engines to allow easy migration of existing content while managing your static site.
On Eleventy websites, your content templates can use a different templating engine than your layout files. Eleventy currently supports HTML, Markdown, Liquid (used by Jekyll), Nunjucks, Handlebars, Mustache, EJS, Haml, Pug and JavaScript Template Literals (ES2015)
Vercel, previously known as Zeit, is an ultimate workflow platform for developing, previewing, and shipping Jamstack sites. We are gonna be using Vercel to deploy our 11ty site that we are gonna be creating.
In this post, we will explain you how to setup an 11ty website, setting up a contact form on the site using the form endpoint of Getform. If you don’t know where to get started to create an 11ty website, you can check out the 11ty quickstart here.
Setting up your 11ty website
For the simplicity, we will be using the starter template of 11ty called Eleventy Base Blog linked below:
 GitHub
1. Clone the Repository
We will start by cloning the repository using the command below:
git clone https://github.com/11ty/eleventy-base-blog.git my-eleventy-blog
2. Navigate to the directory
cd my-eleventy-blog
Specifically have a look at .eleventy.js to see if you want to configure any Eleventy options differently.
3. Install dependencies
npm install
4. Edit _data/metadata.json
In this step, you can edit your site's title, URL, description and change author settings.
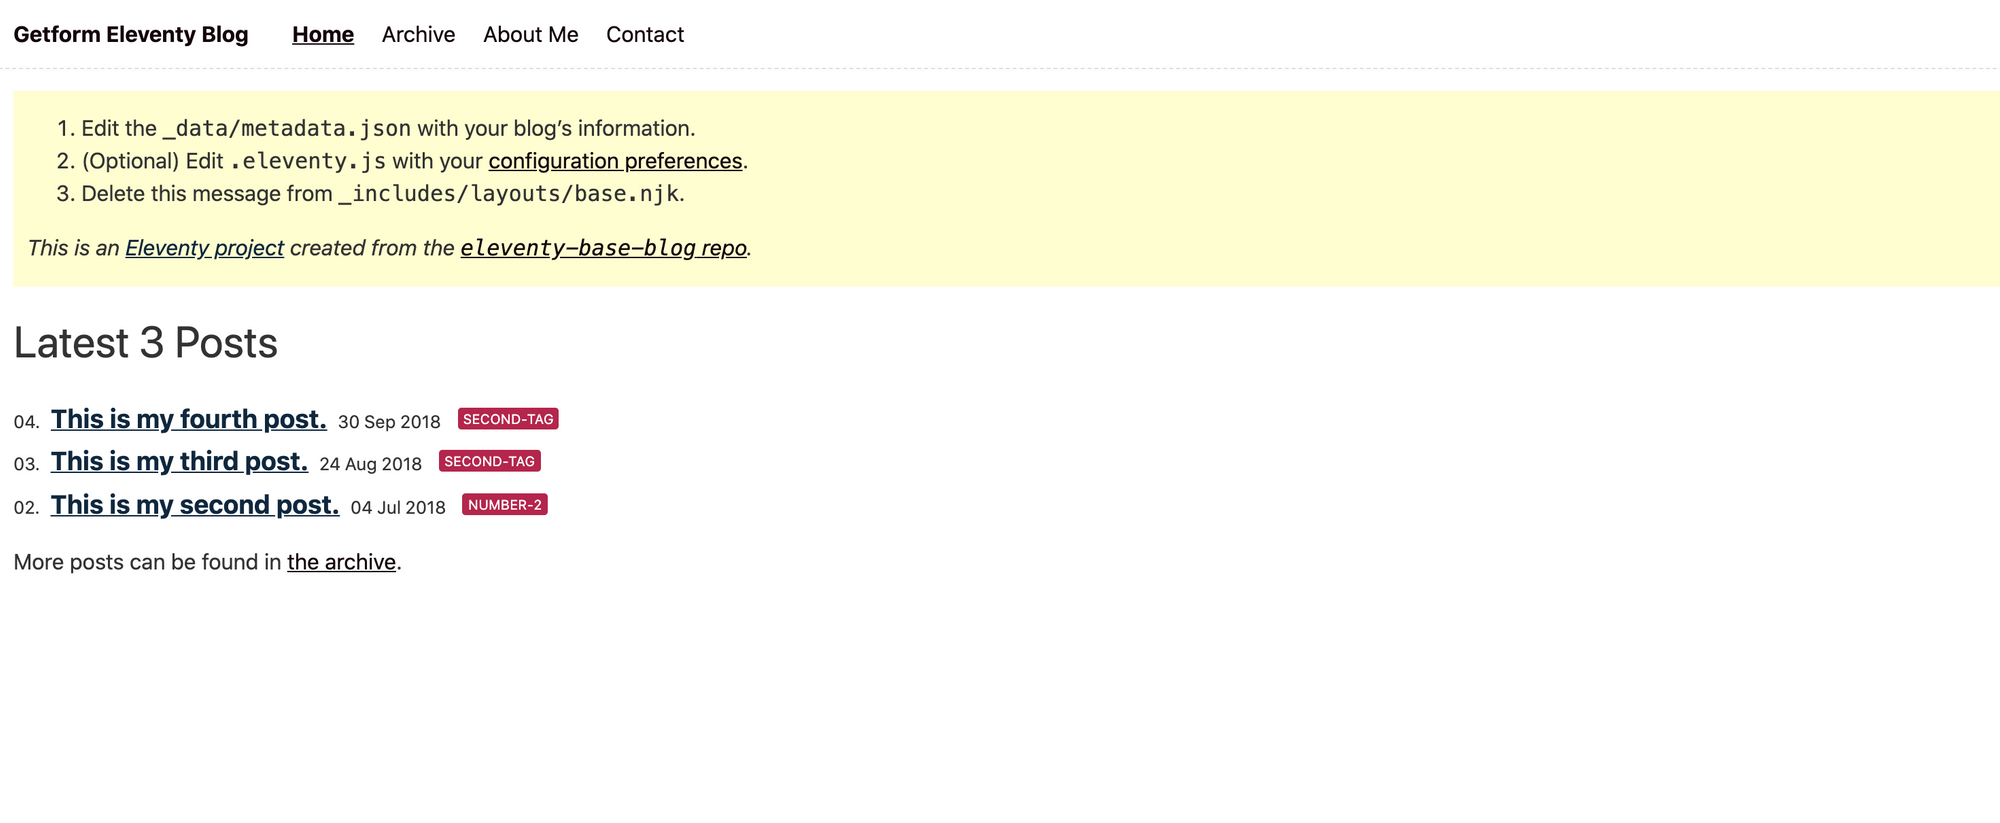
5. Build & Run Eleventy locally
npx eleventy --serveOnce the command finished running, you'll be able to access your 11ty site on http://localhost:8000 like below:
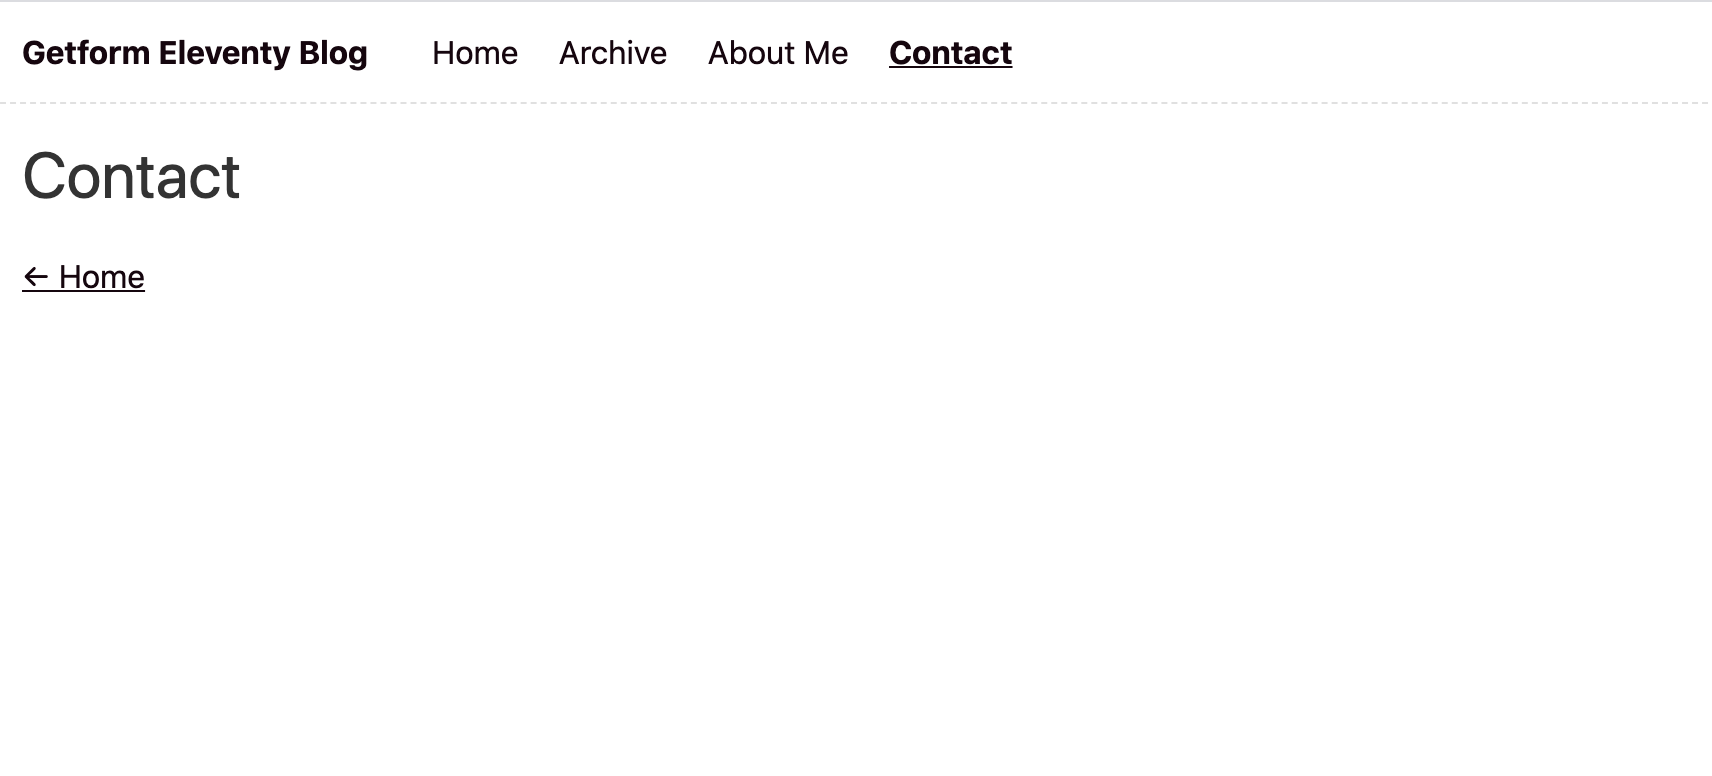
6. Create a contact page
Open your favourite editor and create a new folder named contact under the root directory of your site. Then add index.md and paste the following content below:
---
layout: layouts/post.njk
title: Contact
templateClass: tmpl-post
eleventyNavigation:
  key: Contact
  order: 4
---
and your Contact page with an empty content will be ready.
Create your Eleventy contact form using Getform
1. Create a Getform account and create a new form endpoint
First step is to sign up to Getform if you haven’t done it already. It is dead easy and free to get started. You don’t need to provide any credit card info to get started.
After you log in to your Getform account, click to “+” button on your dashboard to create a new form, then name it e.g. “Contact Form for 11ty Site” and save it. With that form created, your unique form endpoint is now ready to be inserted to your 11ty form.
2. Creating your HTML form block with Getform endpoint
- You can use the boilerplate code provided by Getform to create your HTML form. It is a basic contact form with email address, name, message and file upload fields.
Note: You can visit Getform's Codepen and choose from other boilerplate codes we have presented. Codepen link: https://codepen.io/getform
- We will copy and paste it to our contact page's index.md file. Your md file should look lik this:
---
layout: layouts/post.njk
title: Contact
templateClass: tmpl-post
eleventyNavigation:
  key: Contact
  order: 4
---


<div style="font-family: Roboto; border-radius: 5px; padding: 1px 30px; width: 75%;">
   <h2 style="font-size:30px">Contact Us</h2>
   <form accept-charset="UTF-8" action="https://getform.io/f/{your-form-endpoint-goes-here}" method="POST" enctype="multipart/form-data"  target="_blank" id="wpform">
      <div>
         <label>Full Name</label>
         <div>
            <input style="margin-top: 5px; background-color: #fff; height:35px; width:235px;" type="text" name="first_name" placeholder="Enter your name and surname" required="required">
         </div>
      </div>
      <br>
      <div>
         <label>Email address</label>
         <div>
            <input style="margin-top: 5px;background-color: #fff; height:35px; width:235px;" type="email" name="email" placeholder="Enter your email address" required="required">
         </div>
      </div>
      <br>
      <div>
         <label>Your Message</label>
         <div>
            <textarea style="margin-top: 5px;background-color: #fff; height:50px; width:235px;" type="text" name="message" placeholder="Enter your message" required="required"></textarea>
         </div>
      </div>
      <div>
         <label>Upload document:</label>
         <input type="file" name="file" required="required">
      </div>
      <br>
      <input type="hidden" name="utf8" value="✓">
      <button style="font-size:14px; background-color:#6b7ddf; color:#fff; font-weight:bold; padding:10px 35px; margin: 5px 0 0 0;" type="submit">SUBMIT</button>
   </form>
</div>- Note that unique form endpoint you have created from Getform is placed to the action attribute of the form tag.
- If you would like to accept file attachments to your form, you should also add enctype='multipart/form-data' attribute to your form tag as well as the file input. You can check more setup details here.
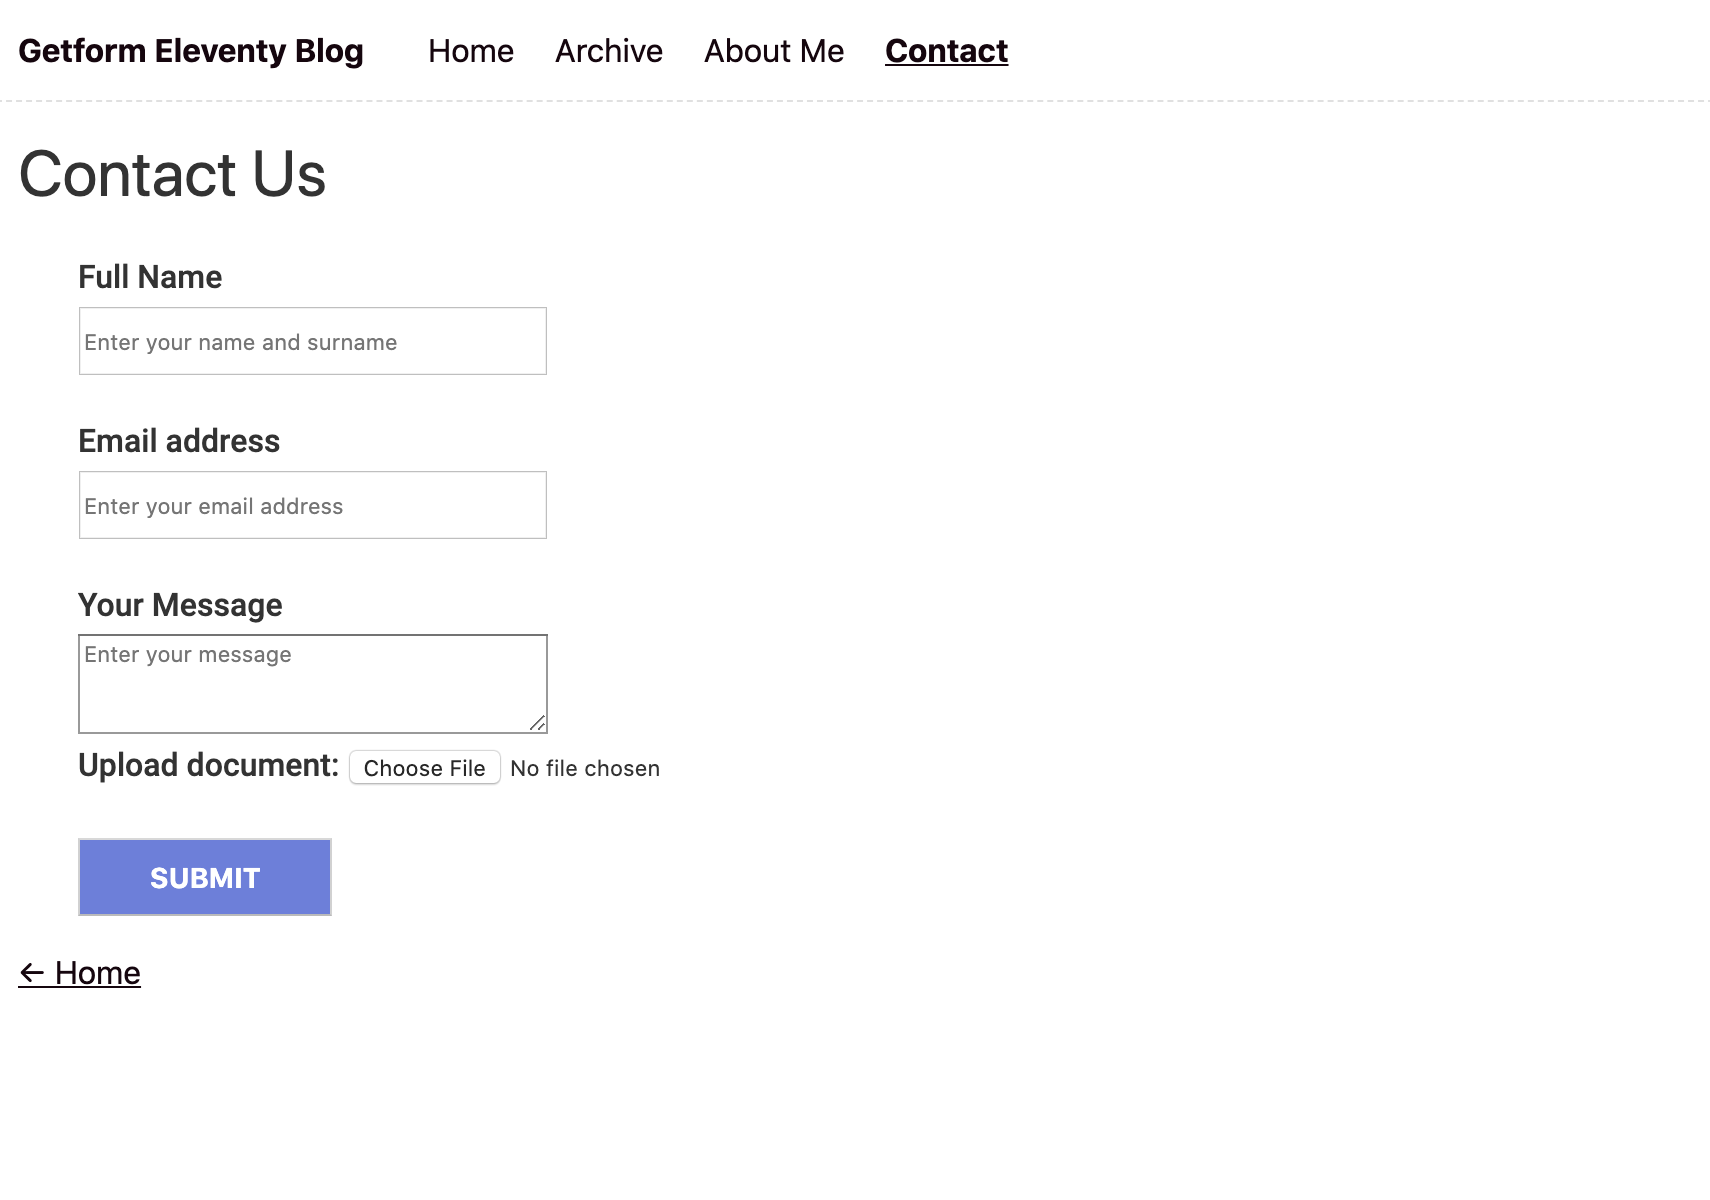
- When you build your website, your contact page will look this:
Deploying your 11ty site using Vercel
We have added our Contact page and now ready to deploy our site using Vercel.
- You can signup to Vercel using your Github account easily and your Github repository will be immediately available to create deploy processes.
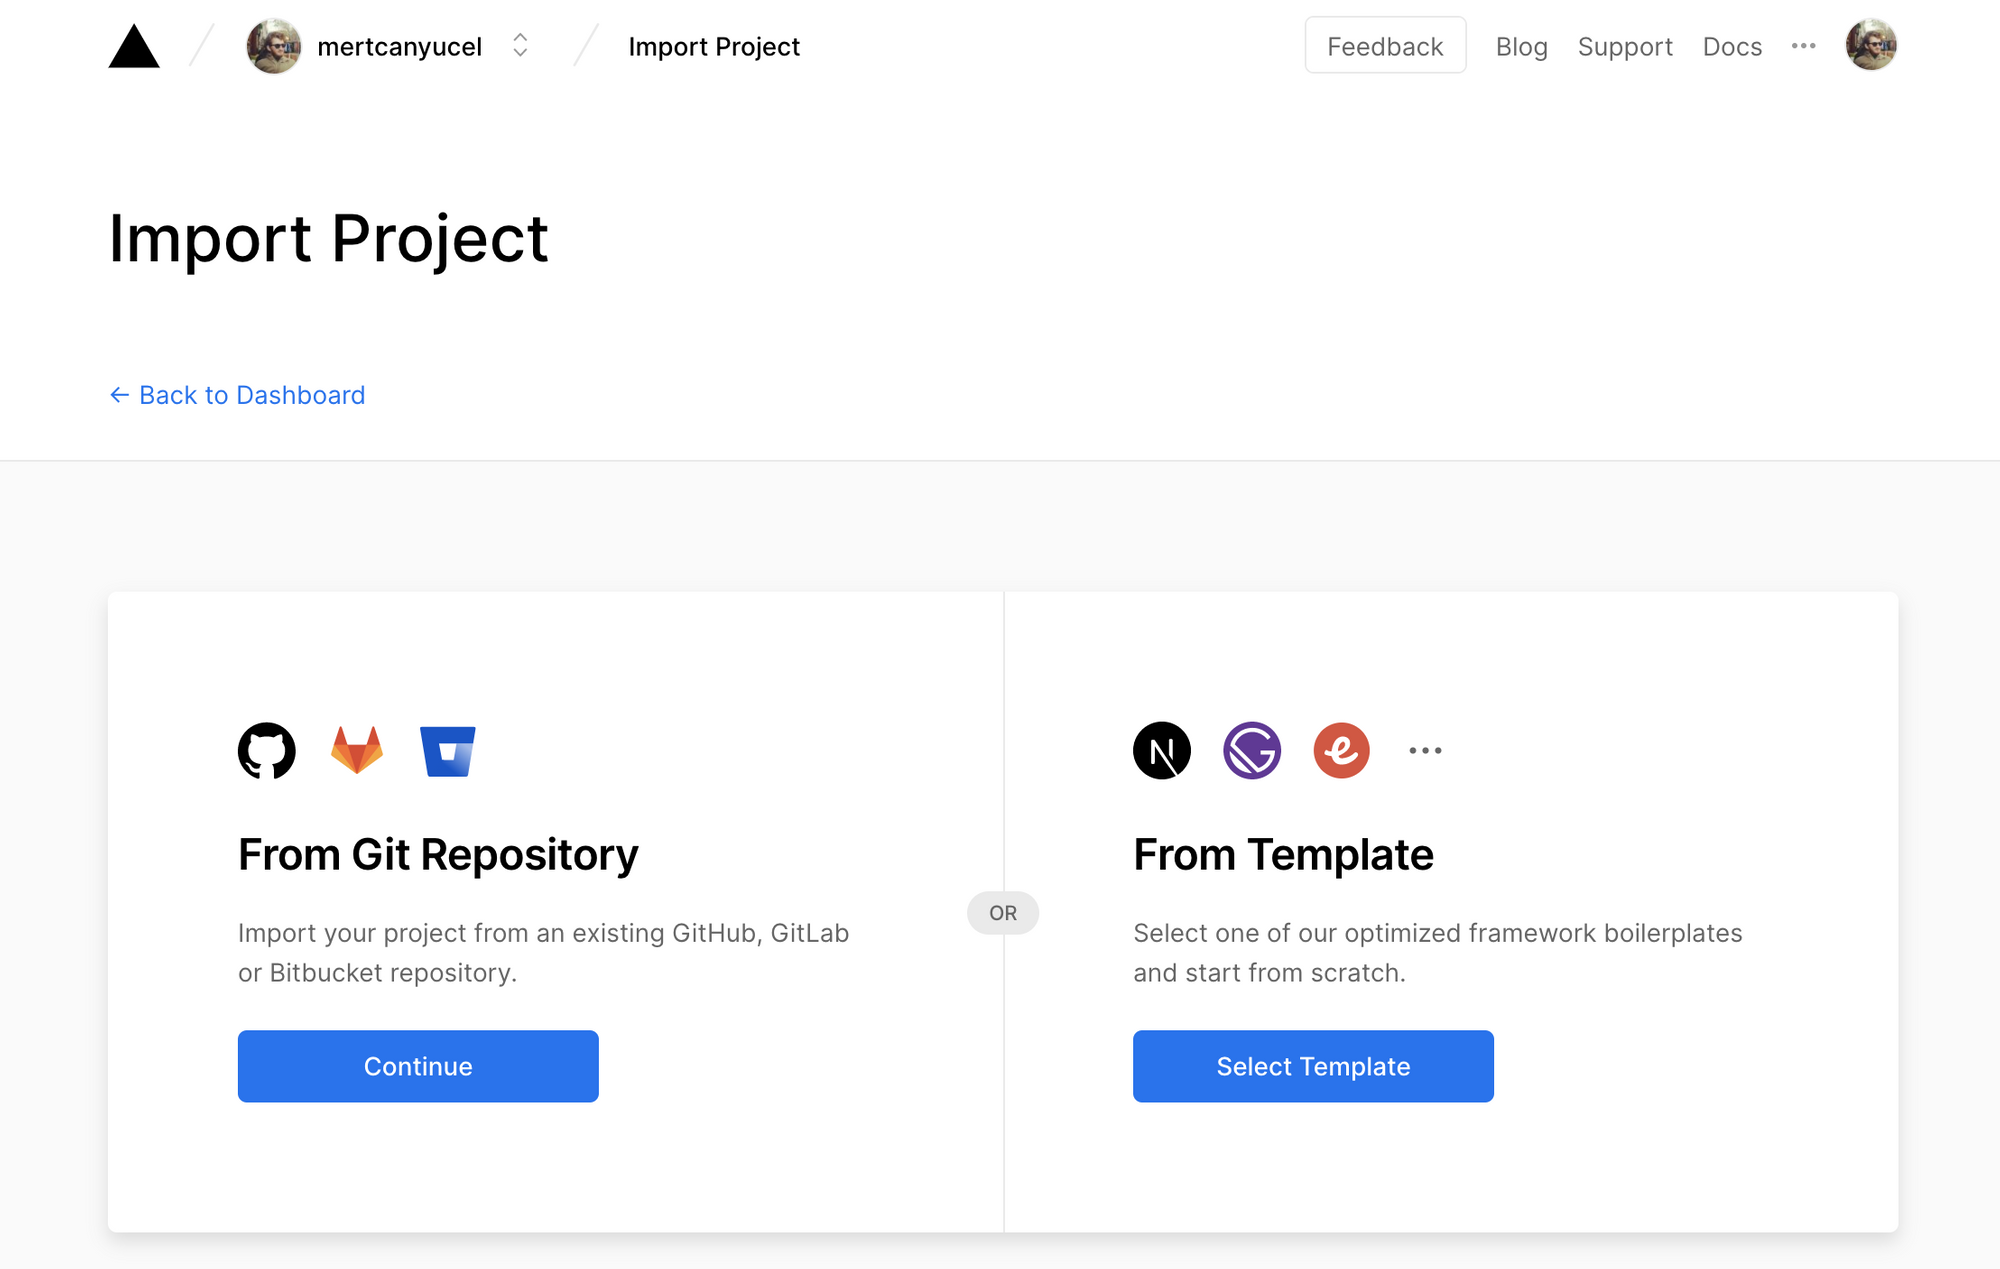
- Login to Vercel and select "Import Project" from the dashboard. In this page, you have two options to go with. Vercel has an option "From Template" in which they offer wide range of static site generator boilerplate repositories including 11ty, Gatsby, Hugo, Jekyll and others. But we will be choosing "From Git Repository" option since we are importing our previously created repository in this case.
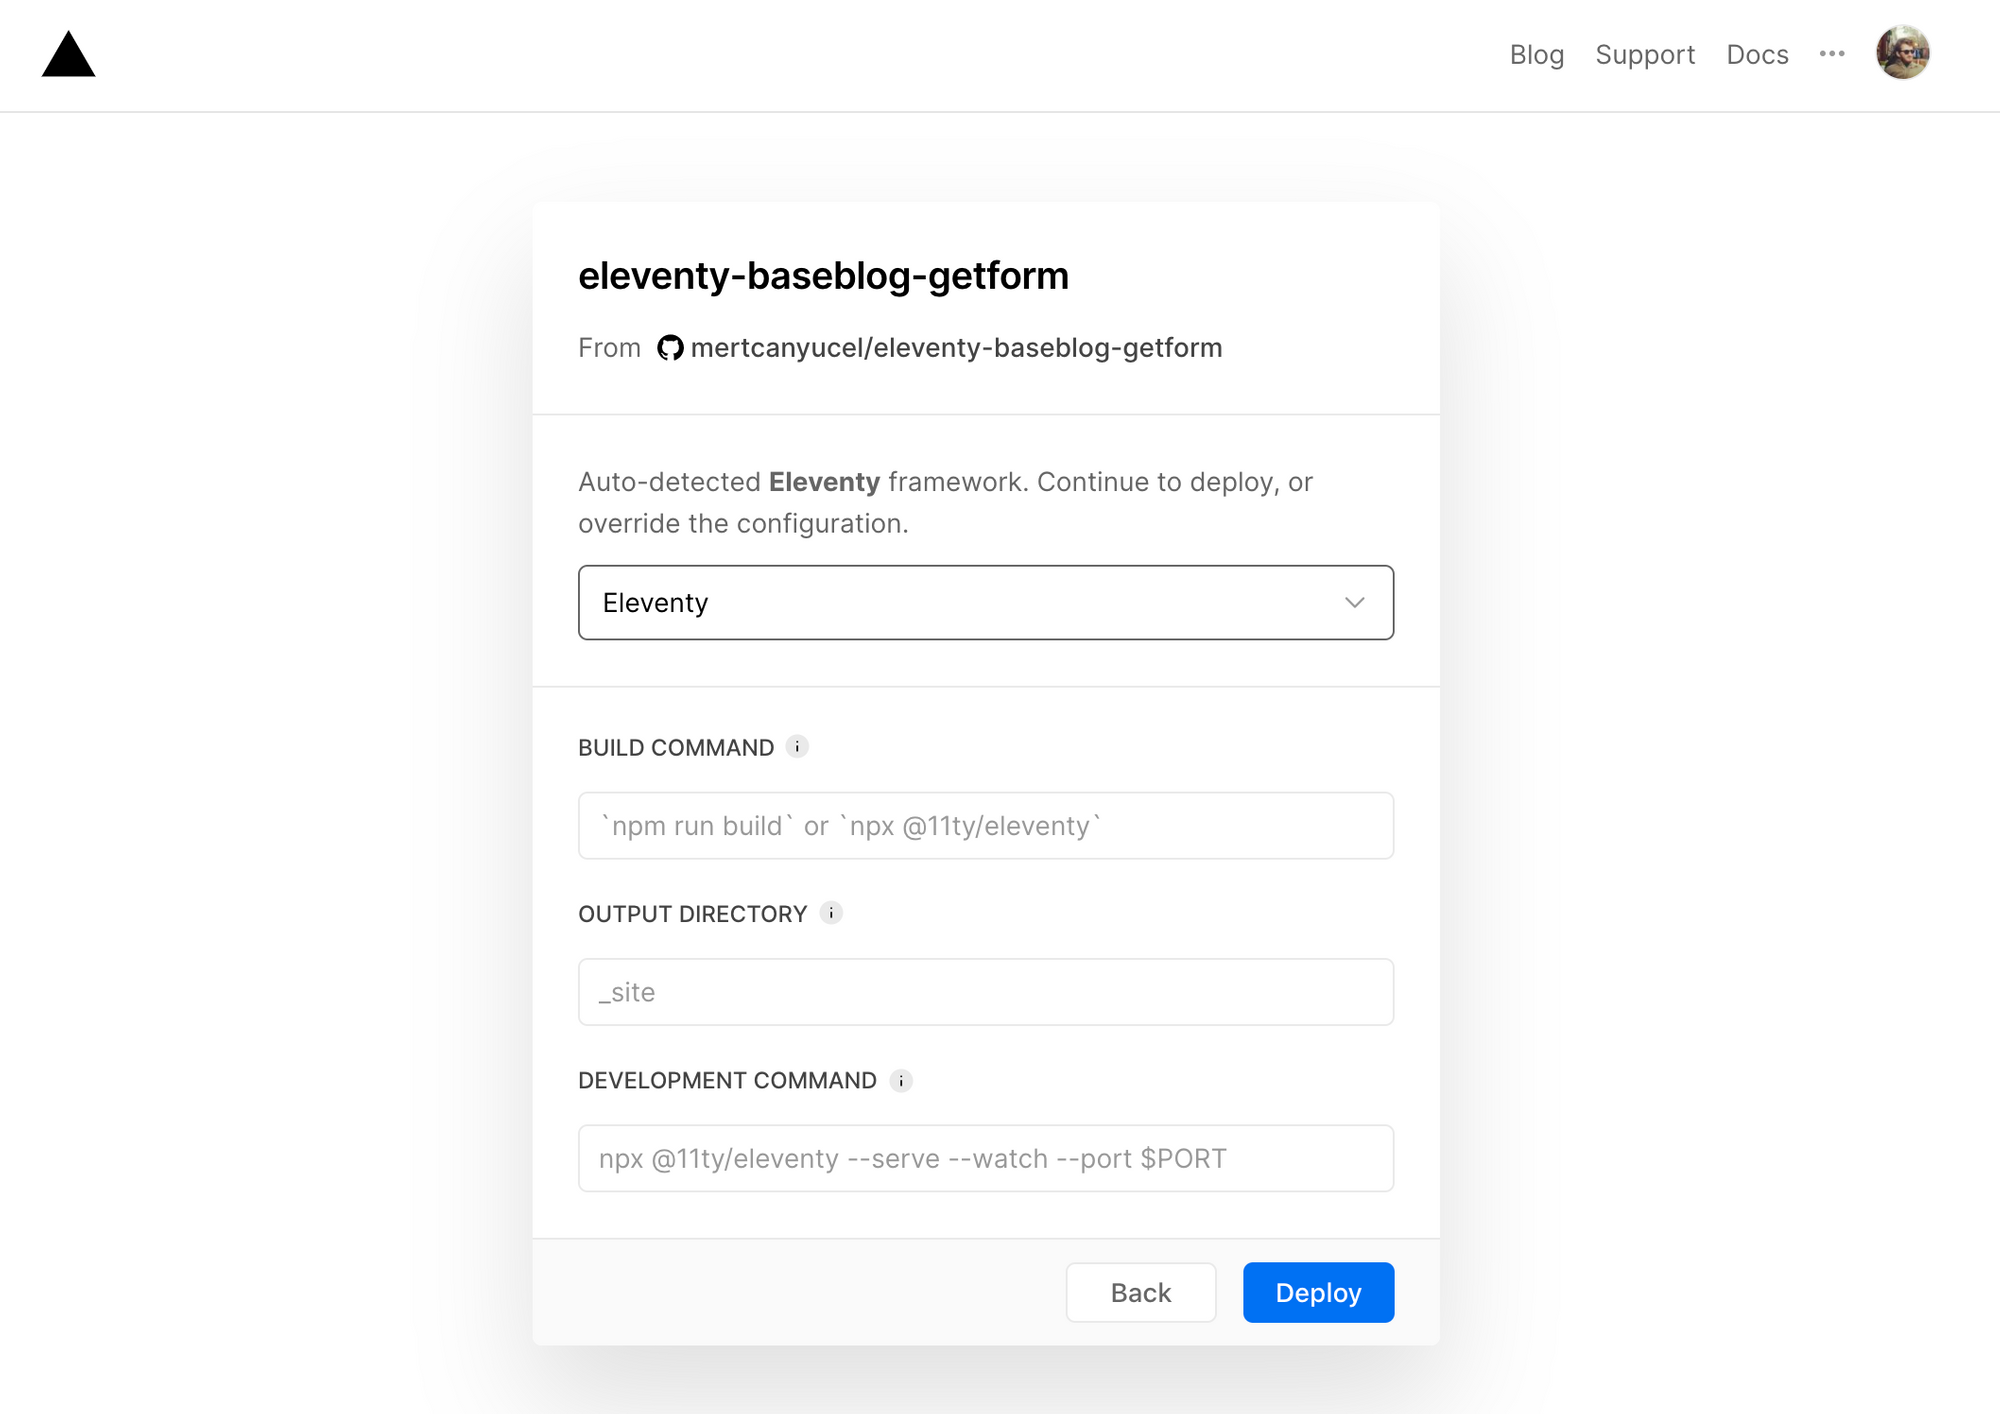
- We import our repository and Vercel automatically detects Eleventy configuration on the import page as follows:
- Click "Deploy" to start the deploying process and Vercel finished building our repository under a minute. You can see the build logs as follows:
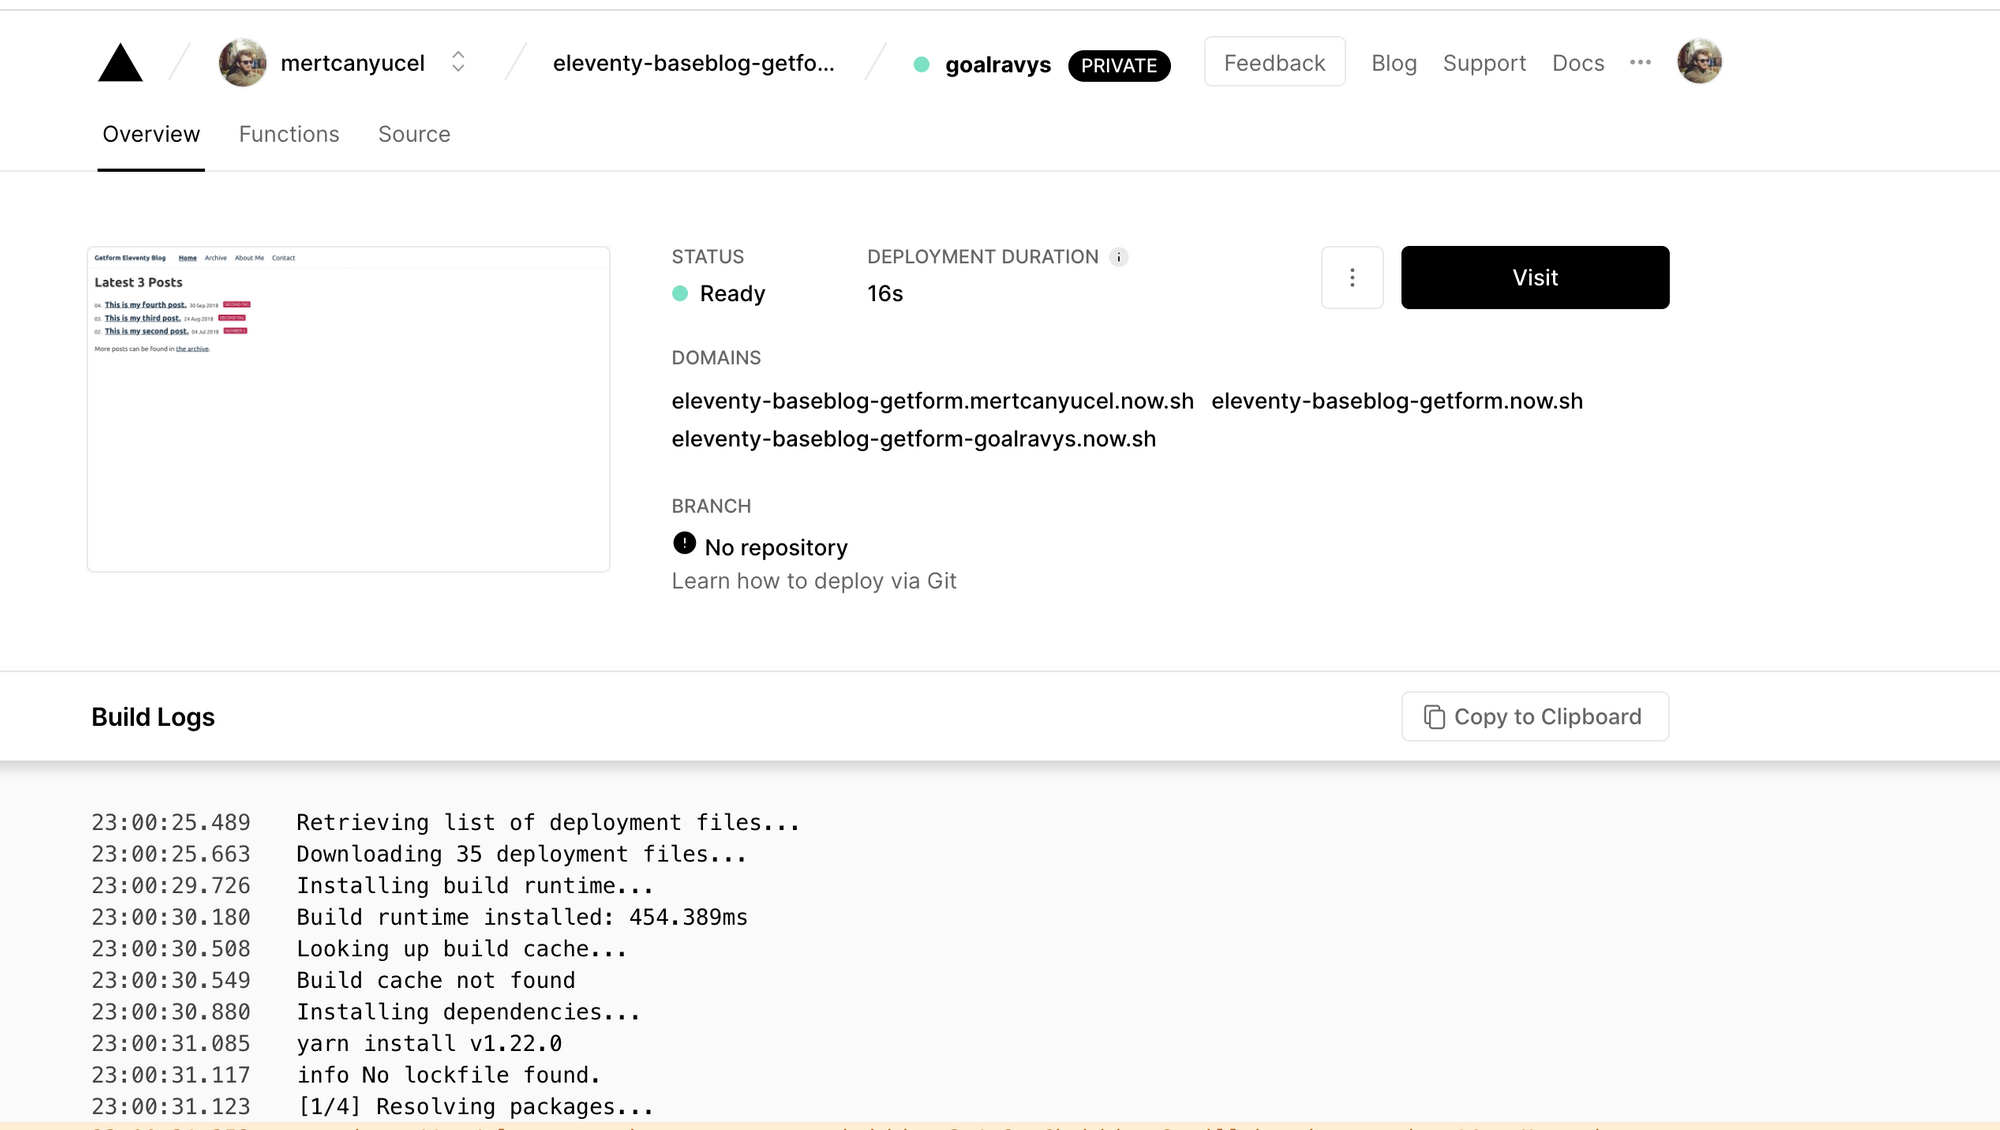
- Once the build is finished, our 11ty website with Contact page we created using Getform is now ready on this link: https://eleventy-baseblog-getform.now.sh/
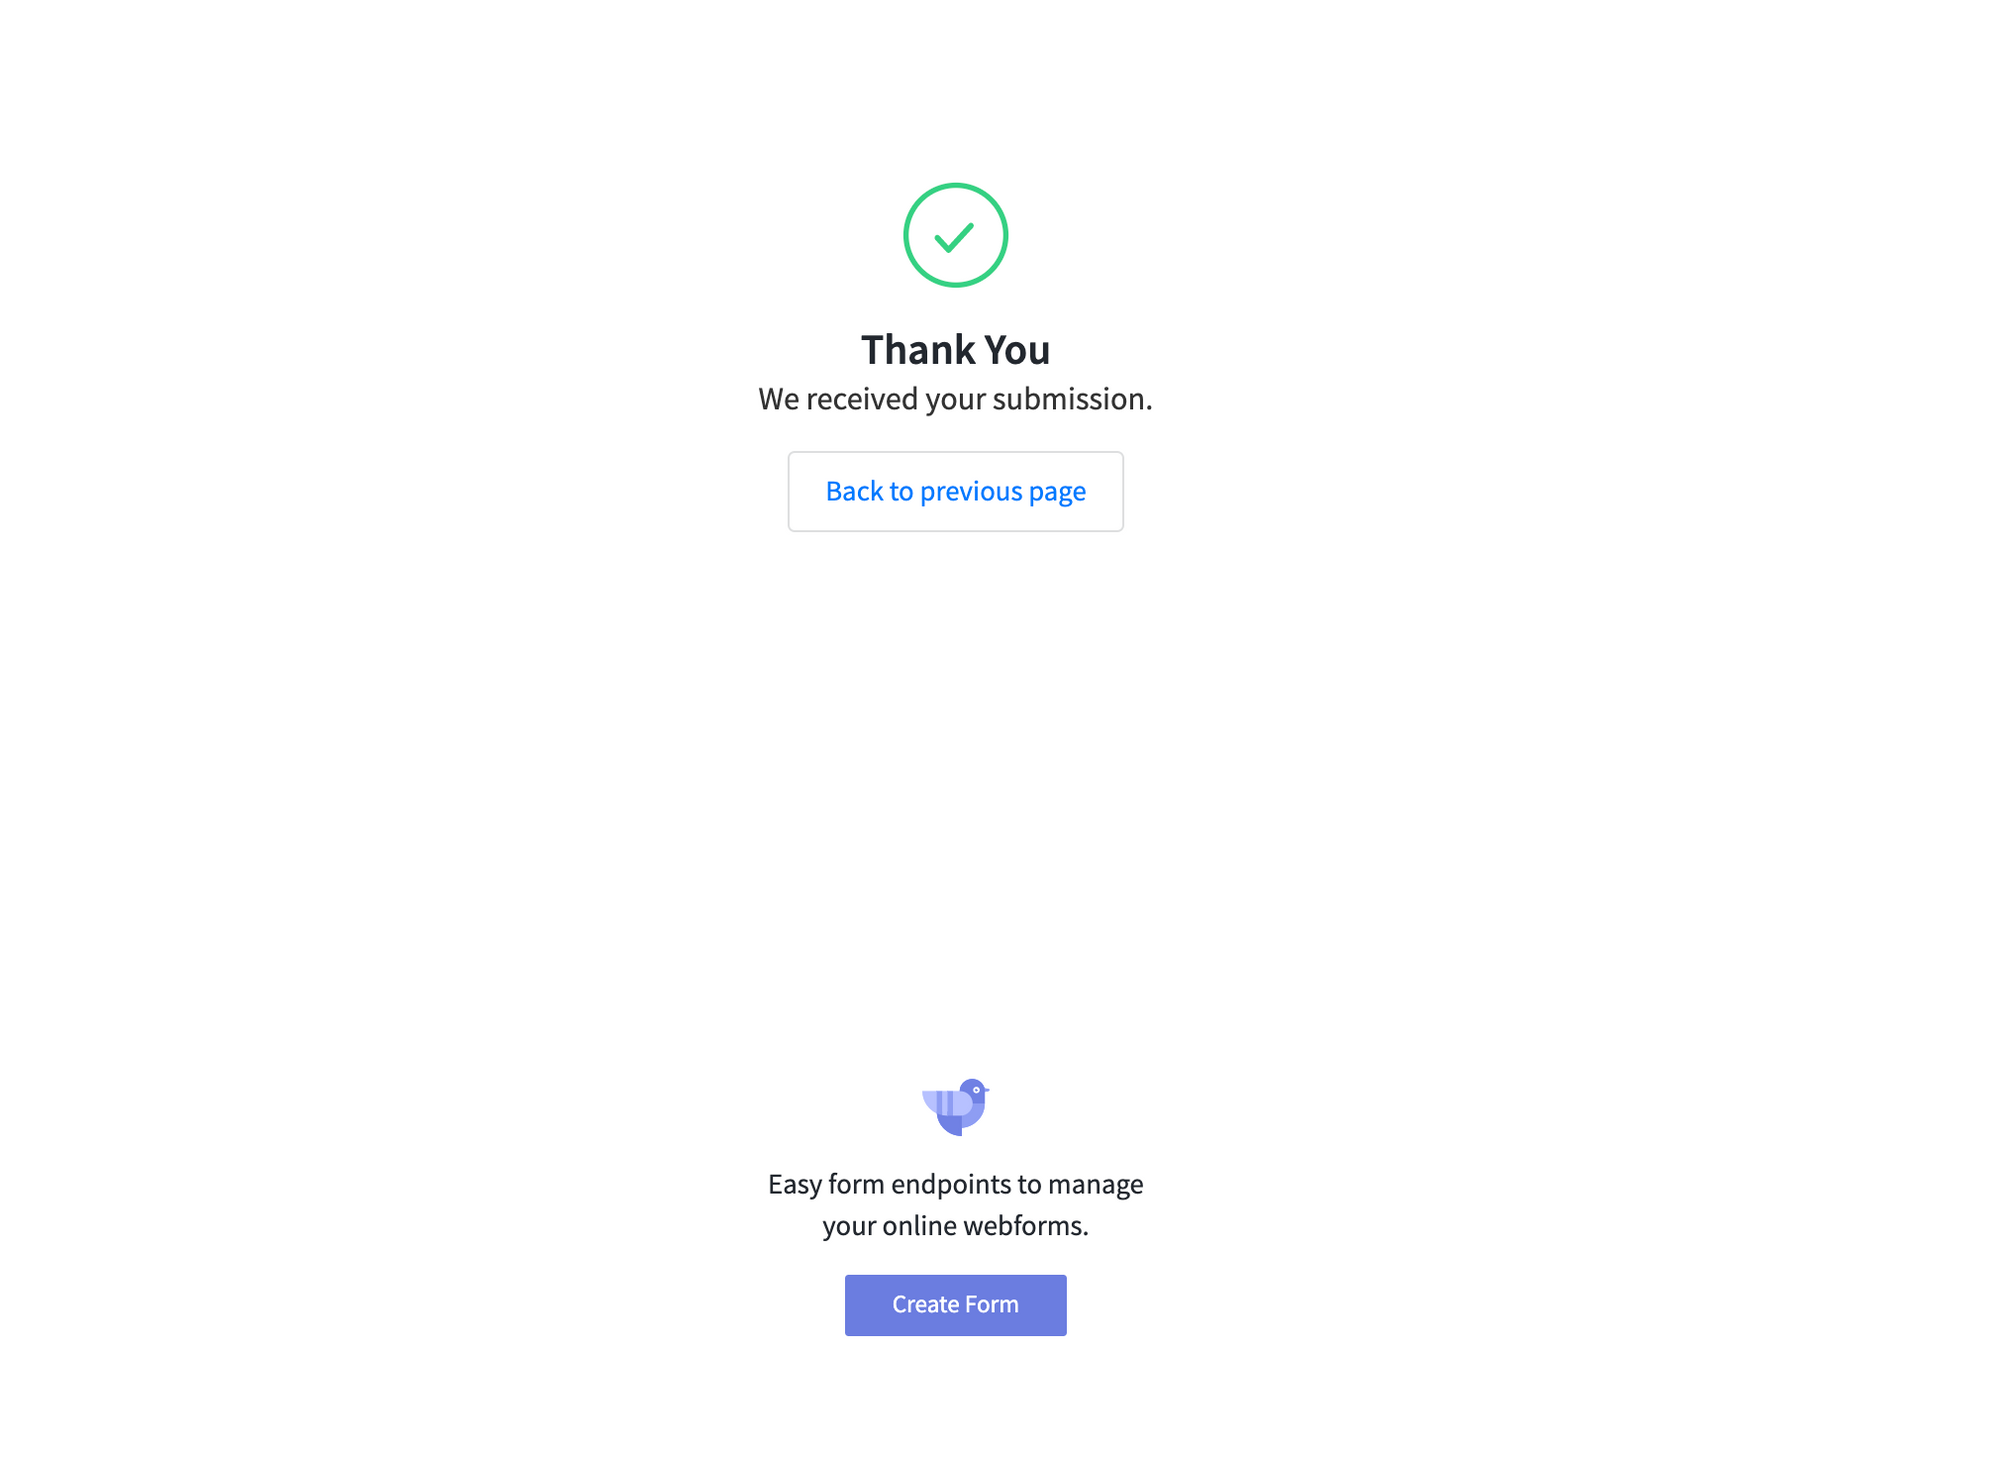
- After we submit a test message with the file attachment, Getform Thank You Page will be shown to your form submitters by default, but you can change it to one you'd like by upgrading your account to Pro plans.
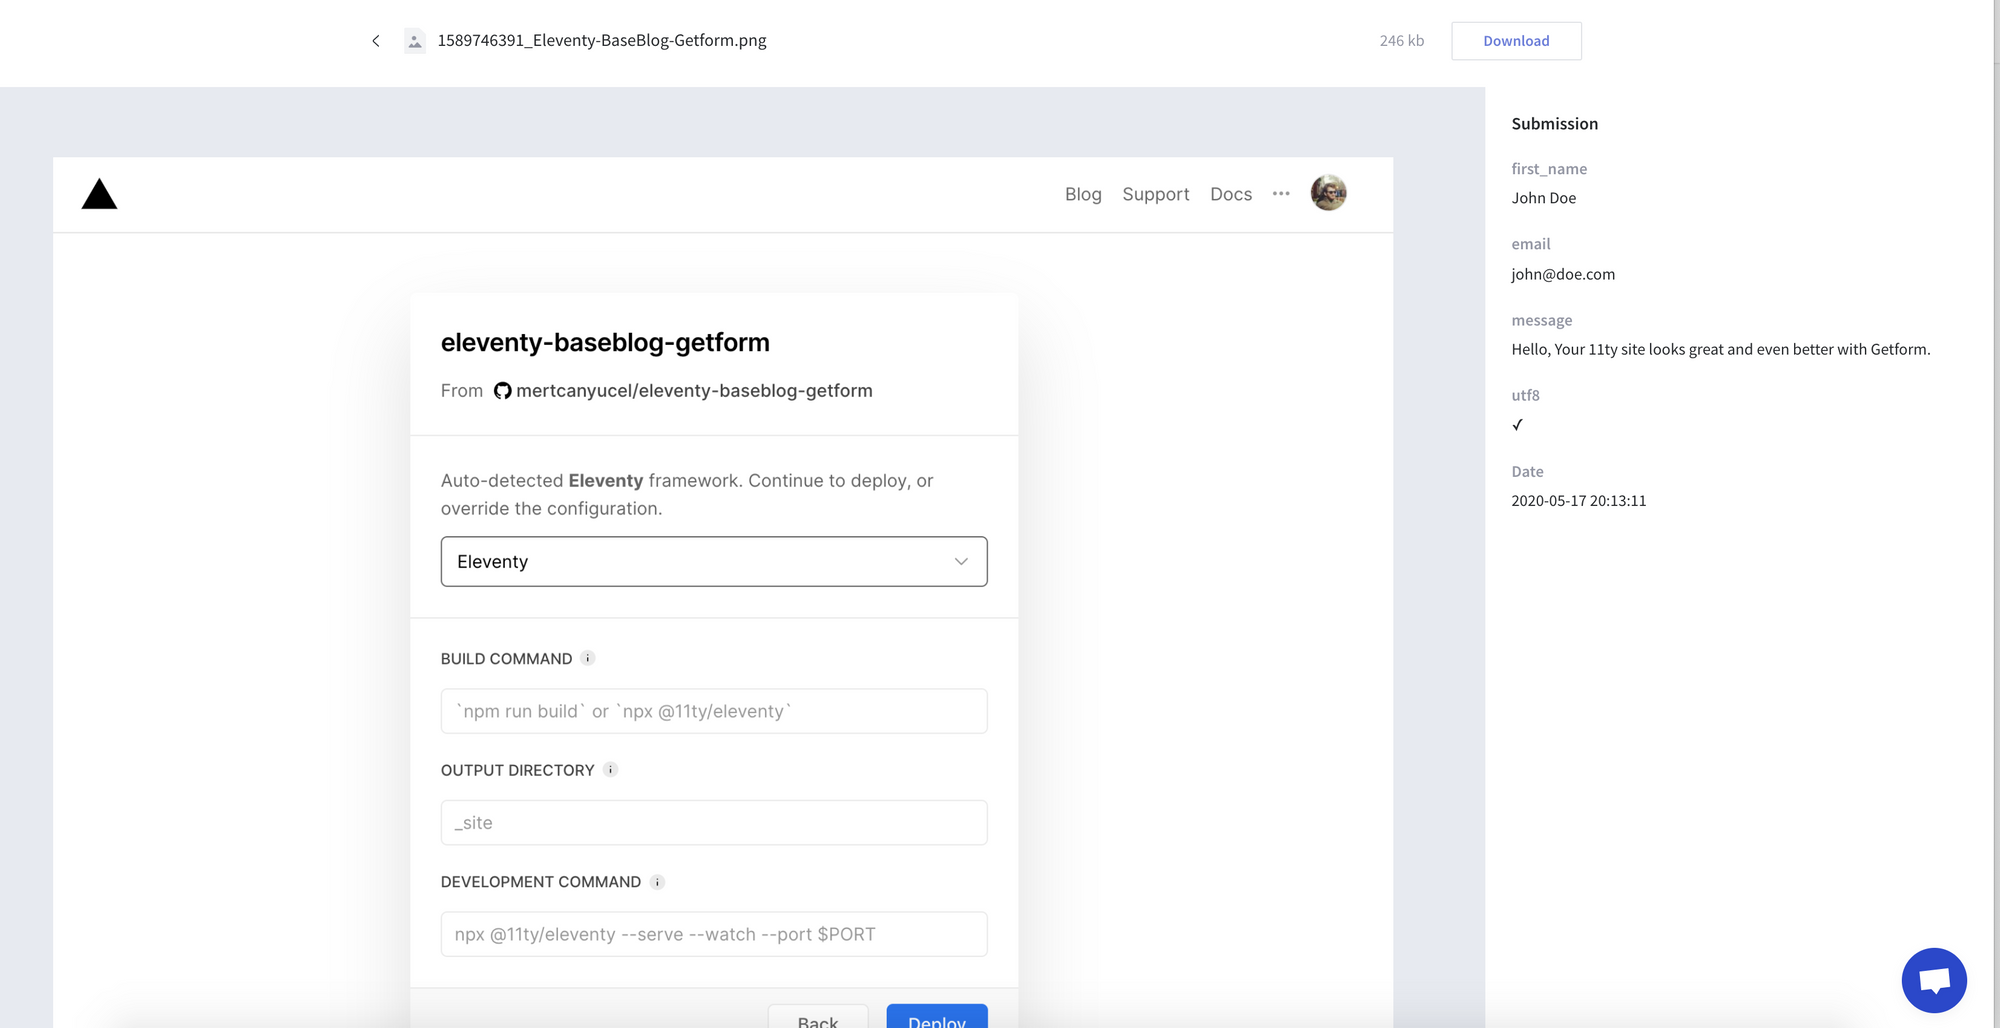
- Your file can be previewed on your dashboard under "Files" tab. Here is the one we uploaded:
Summary
Well done! Not only have you added a contact form to your 11ty website, which will allow you to make direct contact with your site's visitors, but you’ve also configured a CI/CD pipeline for your 11ty website using Vercel.
Getform will handle the contact form submissions on your 11ty site, all with just a few lines of code. It is more flexible and robust solution than what you might get from any other form solution.
Ready to start?
Get started by creating your first form now!
Create your formThank you for reading! We keep enhancing Getform by listening to you, leave us your feature requests or vote on the existing ones.
Checkout our Codepen page, Codesandbox page, Code Zapier page and Documentation for more information and guides.
Need help?
Just drop us a line at info@getform.io and we'll help you out.
Mertcan from Getform
Form backend platform for designers and developers